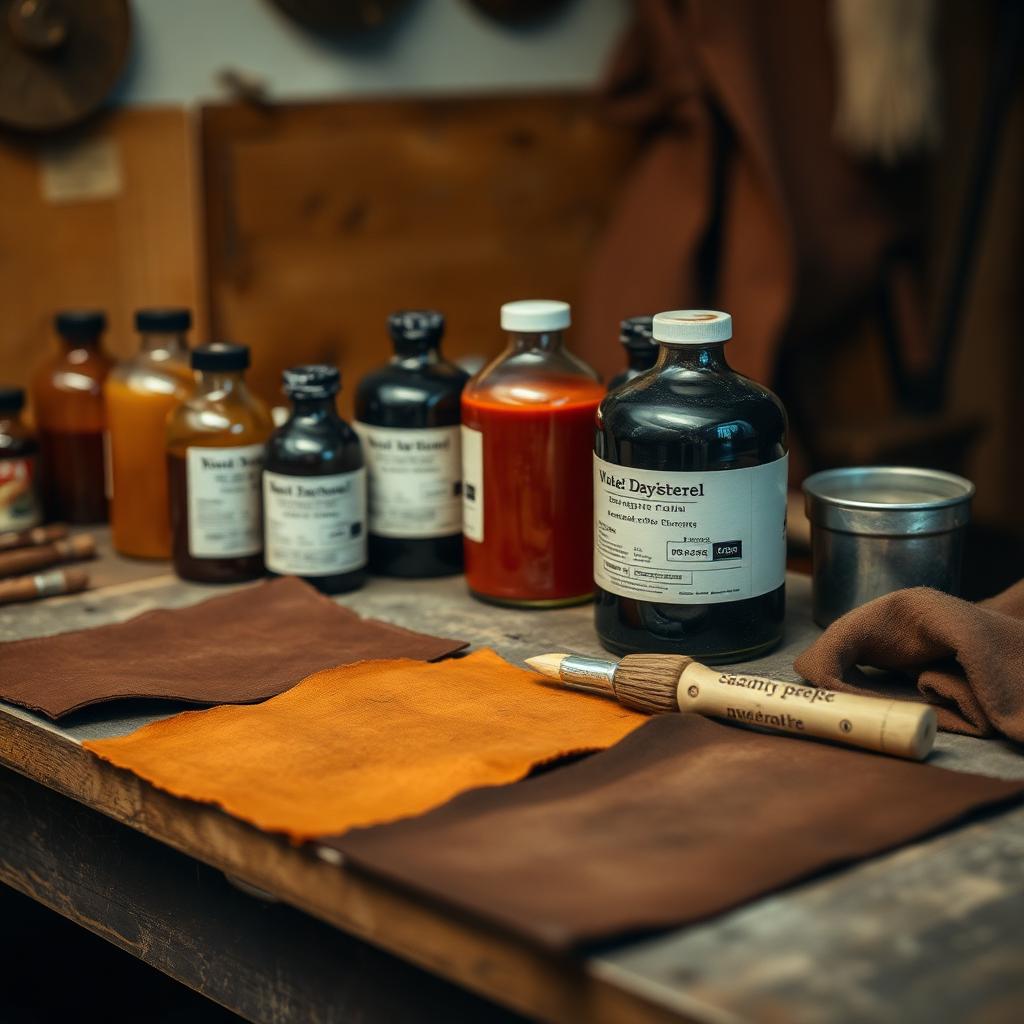
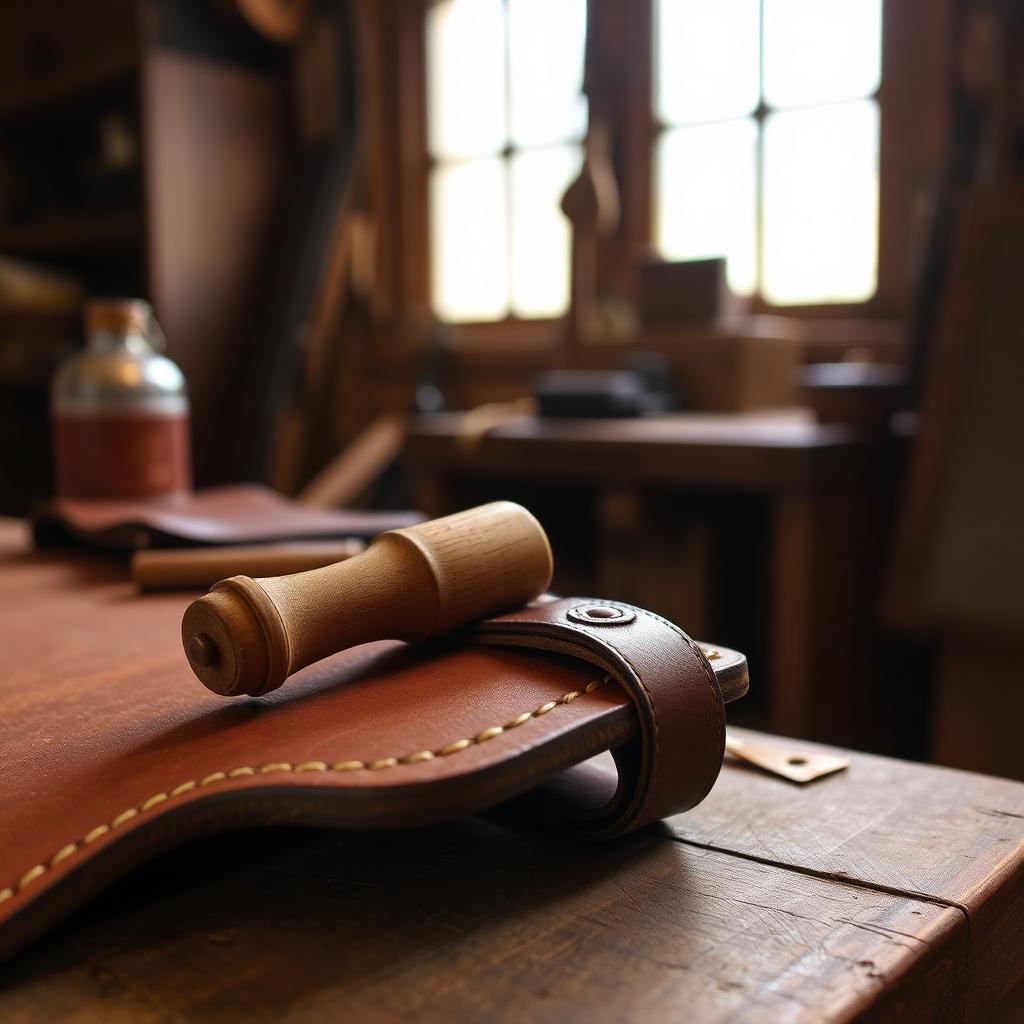
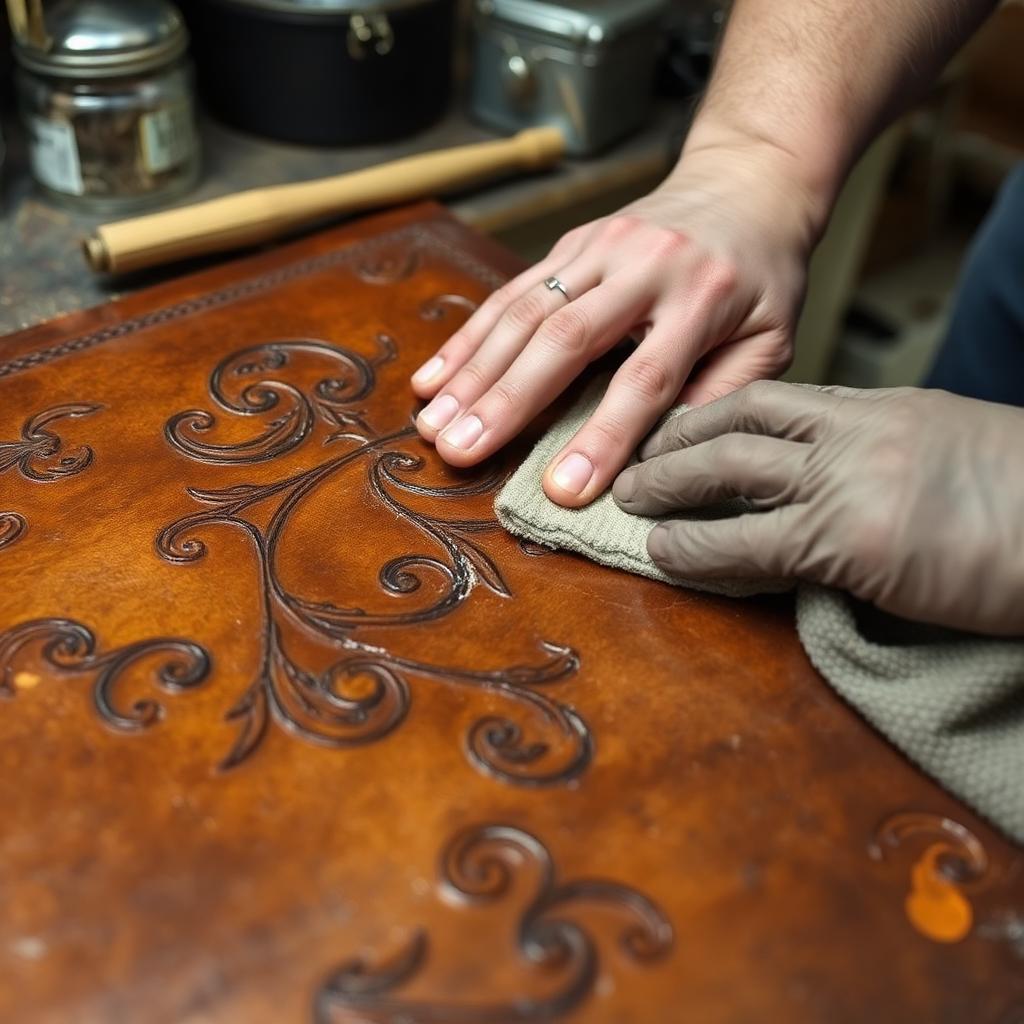
Wet Moulding: Shaping Leather Around a Form
7 July 2026 · 9 min read · Dyeing & Finishing
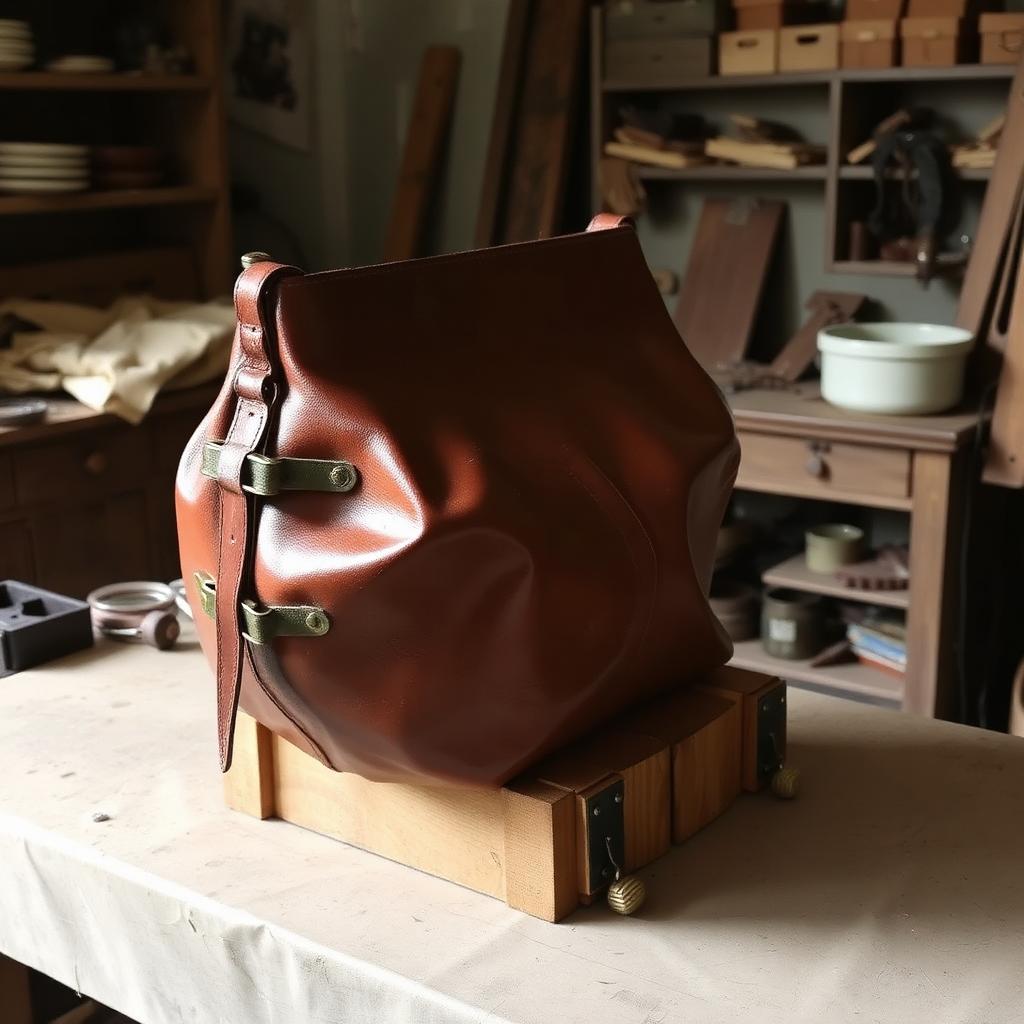
Casing, forming and drying vegetable tanned leather into a permanent three-dimensional shape — the process, the water temperatures, and how much shrinkage to expect.
What makes leather hold a shape
Vegetable tanned leather is a mat of collagen fibres cross-linked by plant tannins. Introduce water and those fibres become mobile relative to one another; the material softens and can be stretched, compressed and pushed into a new configuration. Remove the water while the leather is held in that configuration and the fibres set in their new positions. The shape is then permanent until the leather is thoroughly wetted again.
This works only on vegetable tanned and some combination tanned leathers. Chrome tanned leather is designed to be dimensionally stable when wet, which is exactly the property that makes it useless for moulding.
Casing: getting the water right
Casing is the controlled wetting of the leather before forming. The target is leather that is uniformly damp through its thickness but has returned to nearly its original colour on the surface — damp, not wet. Leather that is visibly dark and soaking is over-cased and will bruise, stretch unevenly and dry with water marks.
For light forming, a sponge of cool water on both sides and twenty minutes in a sealed bag is enough. For deep forms, submerge the panel in cool water until the bubbles stop, remove it, and let it sit until the surface colour returns before working. Deep shapes need the water to have reached the core.
Hot water is a specialised technique, not a shortcut. Water above roughly sixty degrees Celsius begins to denature collagen, producing hardened, shrunken, brittle leather — deliberately used for cuir bouilli armour and moulded cases, but destructive if you did not intend it. For ordinary forming, keep the water cool.
Forms and forming
The form takes the shape you want. Hardwood is traditional and forgiving; high-density foam is easy to shape and cheap; 3D-printed forms are increasingly common and reproduce exactly, though layer lines can transfer to the grain if you press hard. Seal any porous form so it does not absorb the water out of the leather unevenly.
Work the leather with your thumbs and a bone folder, starting from the centre of the form and moving outward so surplus material is pushed to the edges rather than trapped as a wrinkle. Patience here is everything: five minutes of steady stretching beats brute force, which tears the grain.
Hold the shape while it dries. Clamps, a two-part press form, wrapped string, or simply weights on a board all work. The leather will try to relax as it dries, and anything not held will spring back partway.
Drying, shrinkage and timing
Dry slowly at room temperature. Heat guns and radiators drive water out of the surface faster than it can migrate from the core, producing a hard, crackled outer face over a still-damp interior. Twenty-four to forty-eight hours in a normal room is the right timescale for a formed panel; a thick moulded case may need three days.
Expect shrinkage. Cool-water forming typically shrinks a panel by one to three per cent linearly, and deep forms consume more material than the flat outline suggests because the leather has to travel over the form. Cut your blank oversize — 15 to 20 per cent more in each direction than the flat pattern for anything with real depth — and trim after drying.
The leather will also be harder after moulding than before, sometimes considerably. This is usually desirable for cases and sheaths and undesirable for anything that must stay soft.
Finishing a moulded piece
Dye after moulding, not before, unless you want the stretched areas to lighten. Stretching thins the leather and opens the grain, so a pre-dyed panel comes out of the form with pale streaks exactly where it worked hardest.
Once dry and dyed, moulded veg-tan takes conditioner gratefully — it has been through a wetting and drying cycle that stripped some of its natural oils. A light coat of a neutral cream, allowed to absorb overnight, restores flexibility without softening the shape.
Set a care interval for moulded work and tell the customer. A moulded case that is regularly conditioned holds its shape for decades; one that is left dry will eventually crack along the tightest curve, which is precisely where the fibres are already under the most strain.
Stitching a moulded piece needs its own planning. Wherever possible, punch stitch holes while the leather is still flat, before casing, because a formed panel is difficult to clamp and awkward to punch accurately. If holes must go through a formed shape, use an awl rather than a chisel — the mallet blow needed for a chisel will deform the shape you just spent a day setting.
Keep every form you make and label it with the project and the blank size that worked. Forms are slow to produce and instantly reusable, and a shelf of proven forms is what turns a one-off experiment into a product you can make repeatedly to the same standard.
Tools mentioned in this article
- Leather Thickness Unit Converter — Convert between ounces, millimetres and inches instantly.
- Leather Care Interval Calculator — Get a conditioning schedule matched to leather type and climate.