Burnishing Edges That Last: Friction, Moisture and Patience
2 August 2026 · 10 min read · Dyeing & Finishing
A glassy edge is not a coating, it is compressed fibre. Understand what burnishing actually does to the leather and your edges stop fraying after three months of pocket wear.
What burnishing actually is
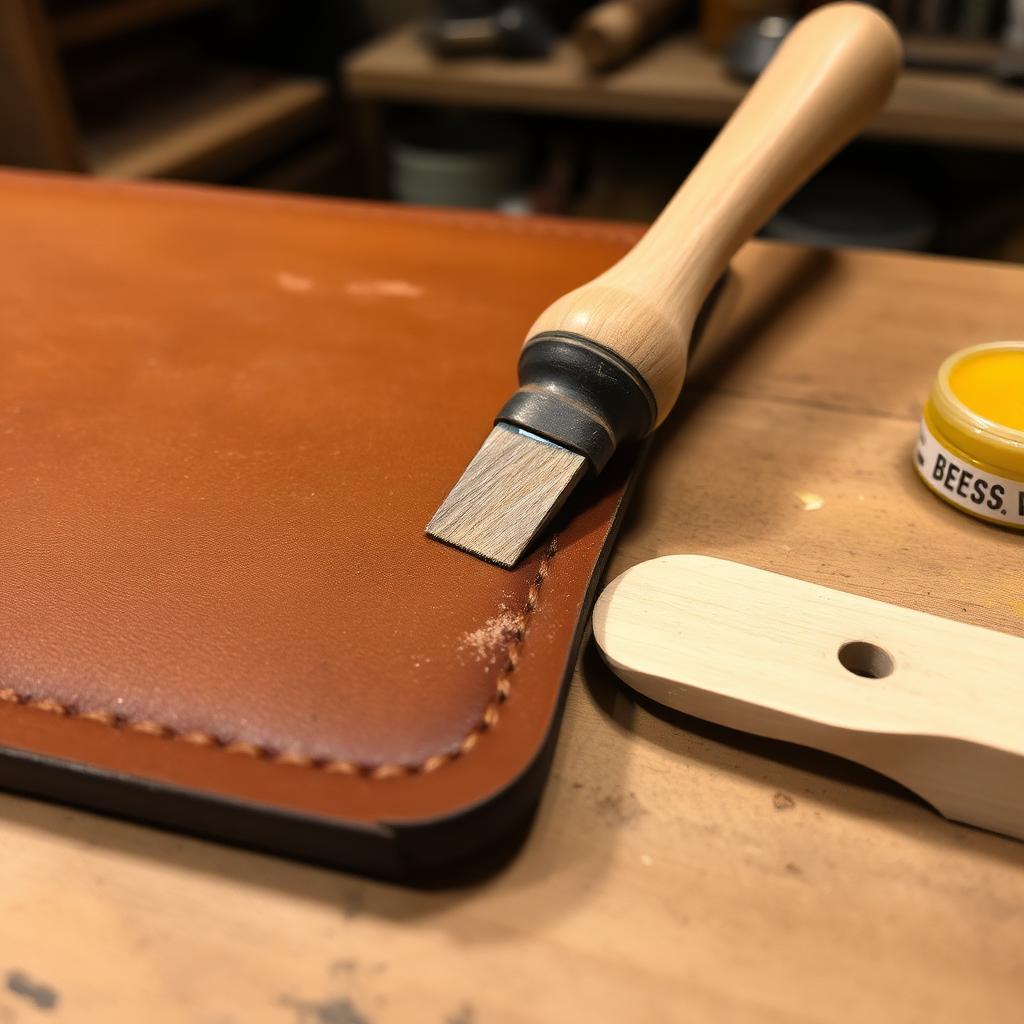
A burnished edge looks like it has been varnished, and almost every beginner assumes that is what happened. It is not. Burnishing is a mechanical process: you damp the cut edge, then rub it hard enough and fast enough that friction generates heat, and the heat plus the moisture plus the pressure collapses the loose cut fibres into a dense, fused mass. The shine is the surface of that compressed mass reflecting light, not a film sitting on top of it.
This distinction matters because it tells you what will and will not work. Anything that adds a layer — a thick wax, a heavy edge paint, a varnish — sits on the fibres rather than compacting them, and it will crack or peel where the leather flexes. Anything that helps the fibres slide and then lock together — water, gum tragacanth, saddle soap, a small amount of beeswax at the very end — makes the compaction better.
It also tells you which leathers can be burnished at all. Vegetable tanned leather burnishes beautifully because its fibre structure is still relatively open and the residual tannins act as a natural binder under heat. Chrome tanned leather generally does not burnish; the fibres are lubricated and will not fuse, which is why bag makers working in chrome tan turn to folded edges or edge paint instead.
Preparation is most of the job
You cannot burnish a bad cut into a good edge. If the knife wandered, if the two glued panels are misaligned by half a millimetre, or if the edge is stepped rather than square, no amount of rubbing will hide it. The first stage of edge work is always geometry: sand or plane the edge until the stack reads as a single square face, checking by sighting down its length rather than looking at it flat on.
Work through abrasive grits in order. A common progression is 220 grit to remove the step, 400 to remove the 220 scratches, then 800 or 1000 to polish. Skipping grits leaves deep scratches that the final polish only makes shinier, and they show up as a dull grey streak once the edge takes colour.
Then bevel. An edge beveller removes the sharp ninety-degree corners on both faces, turning the square edge into a rounded profile. This is not decoration — a rounded edge presents a continuous surface for the slicker to work against, so the fibres roll rather than catch. Match the beveller size to the thickness: a size 1 for anything under 2 mm, size 2 up to about 3 mm, size 3 or 4 for belt weight.
Water, gum, or soap
Plain water works. It swells the fibres, lets them move, and evaporates cleanly. It is also the least forgiving: the working window is short, and if you over-wet the edge the moisture wicks into the panel face and leaves a visible tide line that dries darker than the surrounding leather.
Gum tragacanth is the traditional aid. It is a plant gum in suspension that both damps the fibres and leaves a small amount of binder behind, so the edge holds its shape while you work and stays consolidated afterwards. Apply it sparingly with a fingertip or a small dauber, keeping it strictly on the edge. A common mistake is flooding it on; the excess dries as a whitish crust that you then have to sand away.
Saddle soap and glycerine soaps are the third option, favoured by many saddlers. Soap lubricates as well as damps, so the slicker glides and generates heat without dragging. It also leaves a slight wax content behind. Whichever you pick, be consistent within a project — the three finishes take dye differently and mixing them across one item produces edges that do not match.
Technique at the slicker
The motion is fast and firm, along the length of the edge, not across it. Short vigorous strokes over a span of a few centimetres, working progressively along the piece, generate more heat than long lazy passes. You should be able to feel the edge warm under your fingertip after twenty seconds; if it stays cool, you are not going fast enough or not pressing hard enough.
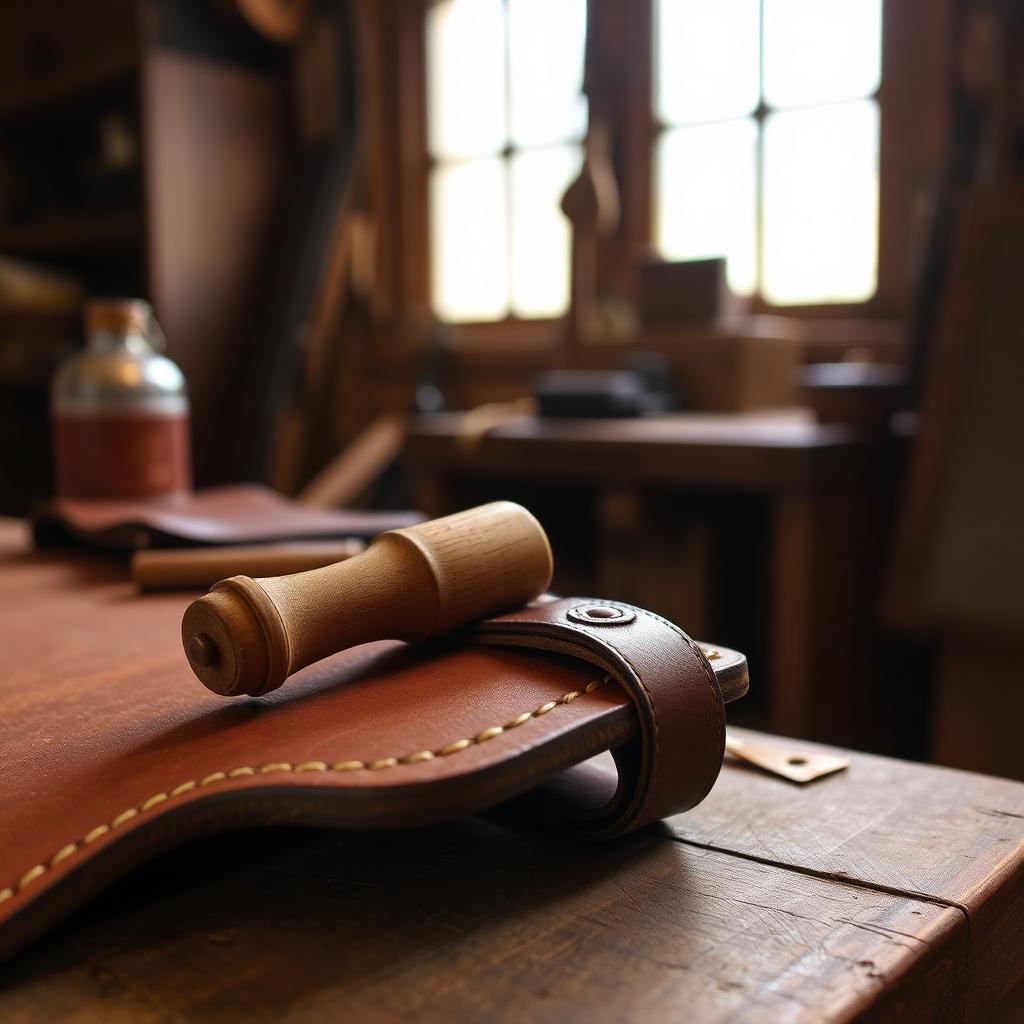
A grooved wooden slicker in cocobolo or lignum vitae is the standard tool, sized so the edge sits in the groove rather than riding on the flat. Canvas or denim also works, and many makers finish with a scrap of canvas after the wood because the cloth polishes the very outermost fibres. A rotating burnisher in a drill press does the same job faster but burns the edge if you dwell — keep it moving.
Expect two or three cycles. Damp, burnish, let it dry fully, sand very lightly with 1000 grit to knock back any raised fibre, then damp and burnish again. Each cycle produces a denser, darker, glossier edge. Trying to reach the finished result in one pass is the single most common reason edges look good on the bench and rough after a week in a pocket.
Colour, wax and sealing
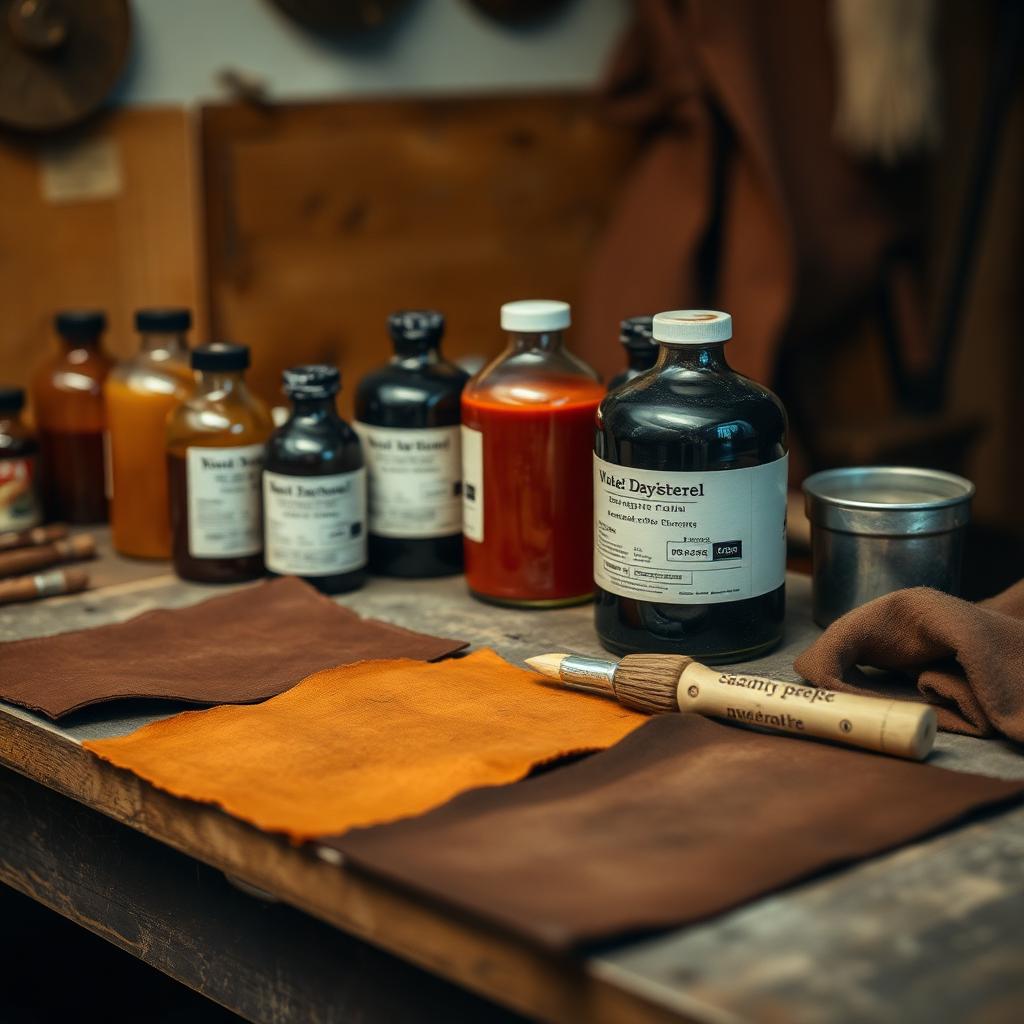
If you want a coloured edge, dye before the final burnish, not after. Dye applied to an already-burnished edge sits on a sealed surface and rubs off within days. Apply the dye to the sanded, bevelled, unburnished edge with a fine dauber or a felt-tip applicator, let it dry completely, then burnish through it. The burnishing drives the pigment into the compacted fibre.
Wax is the last step and should be almost invisible. A block of beeswax or a proprietary edge wax, rubbed lightly along the finished edge and then burnished with canvas until it disappears, adds water resistance and a final depth of shine. Applying too much leaves a soft waxy layer that picks up dust and eventually goes grey.
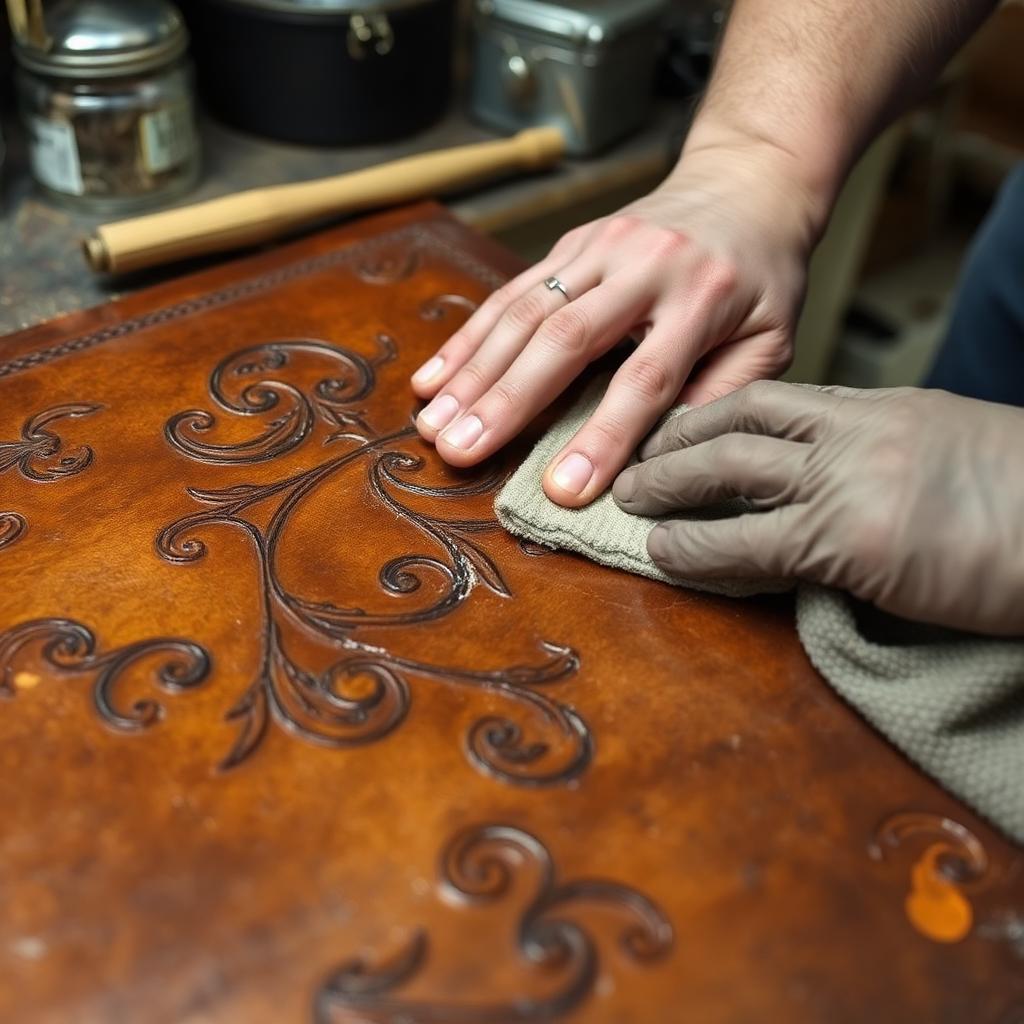
Do not seal a burnished edge with acrylic resolene or similar unless the item lives outdoors. Acrylic forms a film that will eventually craze, and once it does the only remedy is to sand the edge back to bare leather and start again. A well-burnished, waxed edge on vegetable tan is already water resistant.
Budgeting the time
Edge work is slow, and underestimating it is the classic scheduling failure in small-batch leatherwork. A rough working figure for a hand-burnished vegetable tanned edge, including sanding, bevelling, two burnish cycles and drying, is around three to five minutes per running foot for medium weight, more for anything thicker than 4 mm where the sanding stage takes longer.
That is bench time, not elapsed time. Between cycles the edge needs to dry, and on a humid day that can be twenty minutes. Sequencing matters: do all the edges on all the panels of a batch in each stage rather than finishing one item at a time, so the drying happens while your hands are busy elsewhere.
Our edge finishing timer works this out for a given perimeter, thickness and number of cycles, which is useful both for planning a session and for costing a commission honestly. Makers who price by the item almost always undercharge for edges because the labour is invisible in the finished piece — the whole point of a good edge is that it looks like it was never worked at all.
Common failures and their causes
Fuzzy edges that reappear after a fortnight usually mean the fibres were never properly compacted — either the burnish was too gentle, the leather was too dry, or the leather was chrome tanned and was never going to fuse. Test on an offcut before committing.
Dark tide marks on the panel face mean over-wetting. Apply moisture only with a dauber directly on the edge, never with a wet sponge that touches the grain. If a tide mark appears, casing the whole panel evenly and letting it dry slowly will often even it out.
A patchy shine, glossy in some spots and dull in others, means uneven pressure. Move along the edge in overlapping sections rather than working one favourite spot until it shines and then moving on. Consistency of pressure across the whole run matters more than the peak gloss of any part of it.
Tools mentioned in this article
- Edge Finishing Timer — Plan realistic time for sanding, edge coat and burnishing.
- Leather Thickness Unit Converter — Convert between ounces, millimetres and inches instantly.