Dyeing Leather Evenly: Dose, Application and Patience
30 June 2026 · 8 min read · Dyeing & Finishing
How much dye a panel actually absorbs, why streaks form, and a repeatable process for consistent colour across a whole project.
Dye is absorbed, not painted
Leather dye penetrates the fibre structure rather than sitting on top of it. That single fact explains almost everything that goes right or wrong in colouring. Absorption depends on the leather's tannage, its finish, its moisture content and how much oil it already carries, and it varies across a hide just as thickness does.
Because dye soaks in, coverage is not measured in the way paint coverage is. A panel does not need a film; it needs enough liquid to saturate the top layer of fibres uniformly. Too little and the colour comes out patchy and pale. Too much applied in one pass and the surplus pools, migrates along the surface and dries as tide lines that no amount of buffing will remove.
Estimating the dose
For alcohol-based dyes on undyed vegetable tanned leather, a useful starting figure is around 1.2 to 1.8 millilitres of dye per square decimetre per coat, depending on how thirsty the leather is. A 20 × 30 cm panel is 6 square decimetres, so expect roughly 8 to 11 ml for a single even coat.
Dark shades usually need two or three coats to reach depth; light tans often reach the target in one. Oil-based dyes spread further and typically need ten to twenty per cent less volume than alcohol-based dyes for equivalent coverage. Water-based dyes sit closer to the surface, need more coats, and are far more prone to streaking on absorbent veg tan.
Mix enough for the entire project in one batch. This is the most important rule in dyeing and the one most often broken. Two batches of the same nominal colour, mixed on different days from different bottle levels, will not match — and a bag with two subtly different browns is a bag nobody wants to buy.
Why streaks form
Streaking has three usual causes. The first is an overloaded applicator releasing dye unevenly: a soaked wool dauber dumps a puddle on first contact, then runs dry halfway across the panel. Load lightly and reload often.
The second is inconsistent motion. Straight parallel strokes leave visible edges where each stroke overlaps. Circular or figure-of-eight motion, kept moving continuously until the whole panel is wet, distributes the liquid before any part of it starts to dry.
The third is drying edges. On a large panel in a warm room, the first area you dyed may be dry before you reach the far corner, and the boundary between wet and dry is where a tide line forms. Work faster, work in a cooler room, or dilute the first coat with the manufacturer's reducer so it flows longer.
A pre-wetting pass with plain reducer or diluted alcohol opens the fibres and evens absorption dramatically, particularly on leather that has been handled and carries finger oils. It costs two minutes and prevents the most common failure.
A repeatable process
Clean the surface first — deglaze with the appropriate solvent to remove tannery waxes and handling oils. Skipping this step is the reason a panel resists dye in exactly the places you touched it most.
Apply the first coat quickly and lightly, aiming for even wetness rather than final colour. Let it dry fully; alcohol dyes usually need twenty to thirty minutes, longer in humid conditions. The colour will look lighter dry than wet, which is normal and catches everyone the first time.
Apply the second coat at ninety degrees to the first. Crossing the direction of application cancels out directional streaking better than any other single technique. Repeat until the dry colour matches your test swatch.
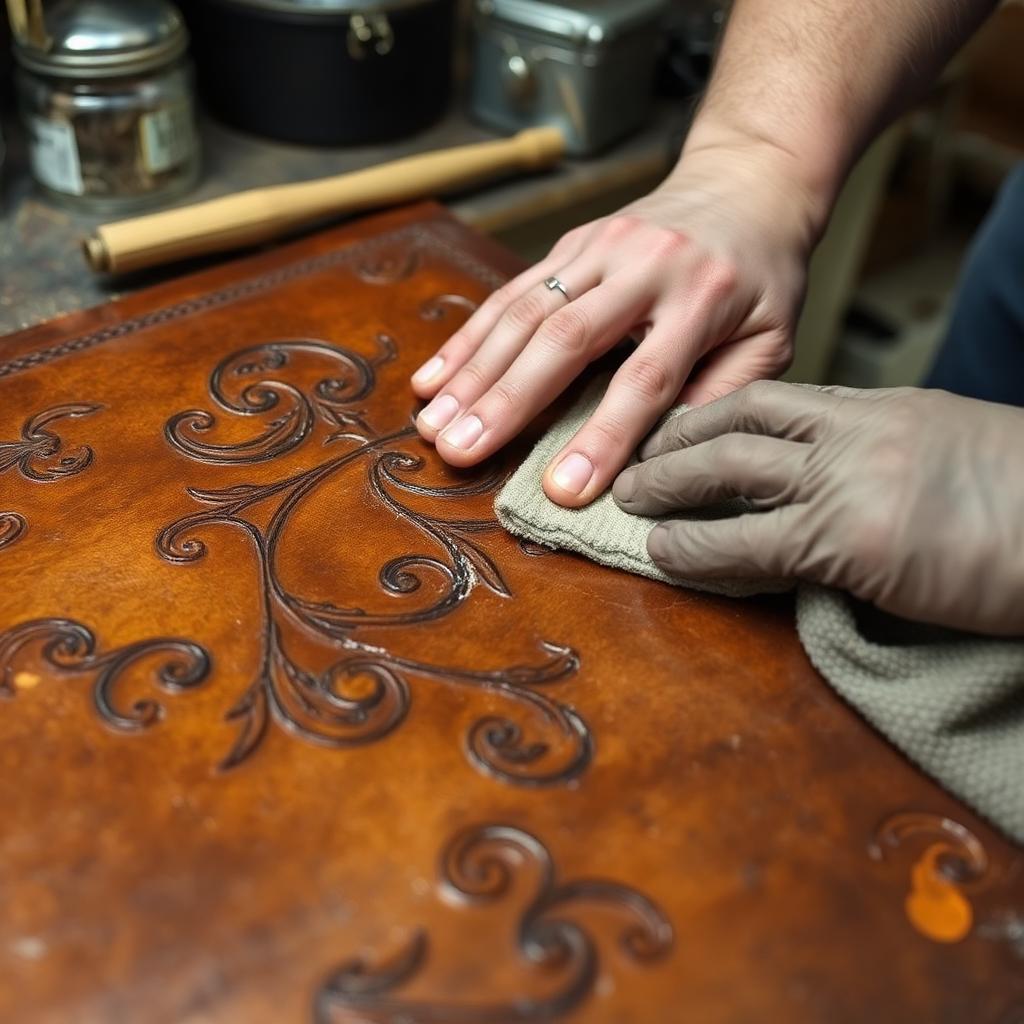
Buff vigorously with a clean cloth once fully dry to lift excess pigment that would otherwise transfer onto clothing. Then leave the piece for several hours — ideally overnight — before conditioning or sealing.
Test swatches are not optional
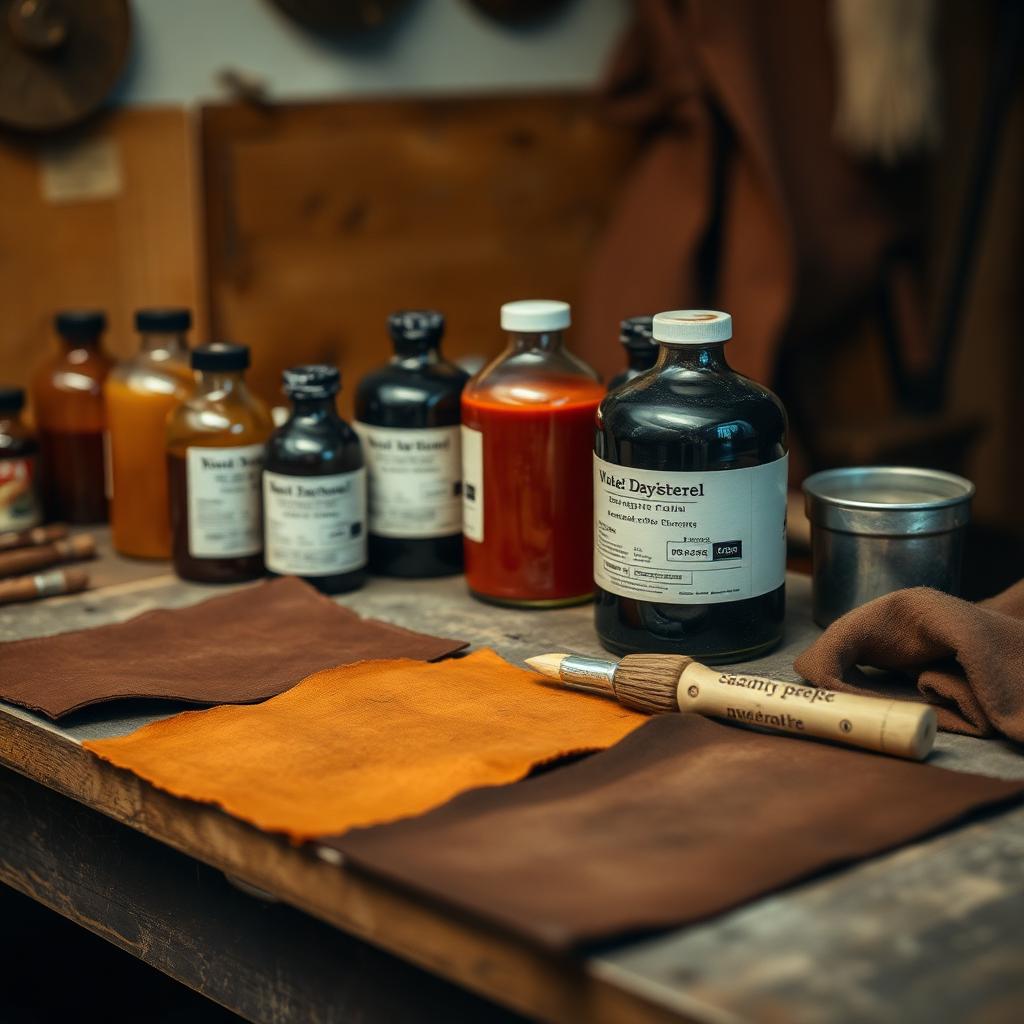
Always dye a scrap from the same hide, at the same time, with the same batch. Leather from a different hide will take colour differently, so a swatch from your scrap bin is only a rough indication. Label each swatch with the dye, the number of coats and the dilution, and keep them in a box.
Over a year that box becomes the most valuable reference in the workshop. It answers questions no chart can: what this particular dye does on this particular tannage after three coats and a coat of resist. That is knowledge you cannot buy.
Use the dye dosage calculator to size your batch before mixing, and the finishing timer to plan realistic drying windows around your working day. Both remove guesswork from a process where guesswork is expensive and irreversible.