Antiquing and Resist: Getting Depth Into Tooled Leather
10 July 2026 · 9 min read · Dyeing & Finishing
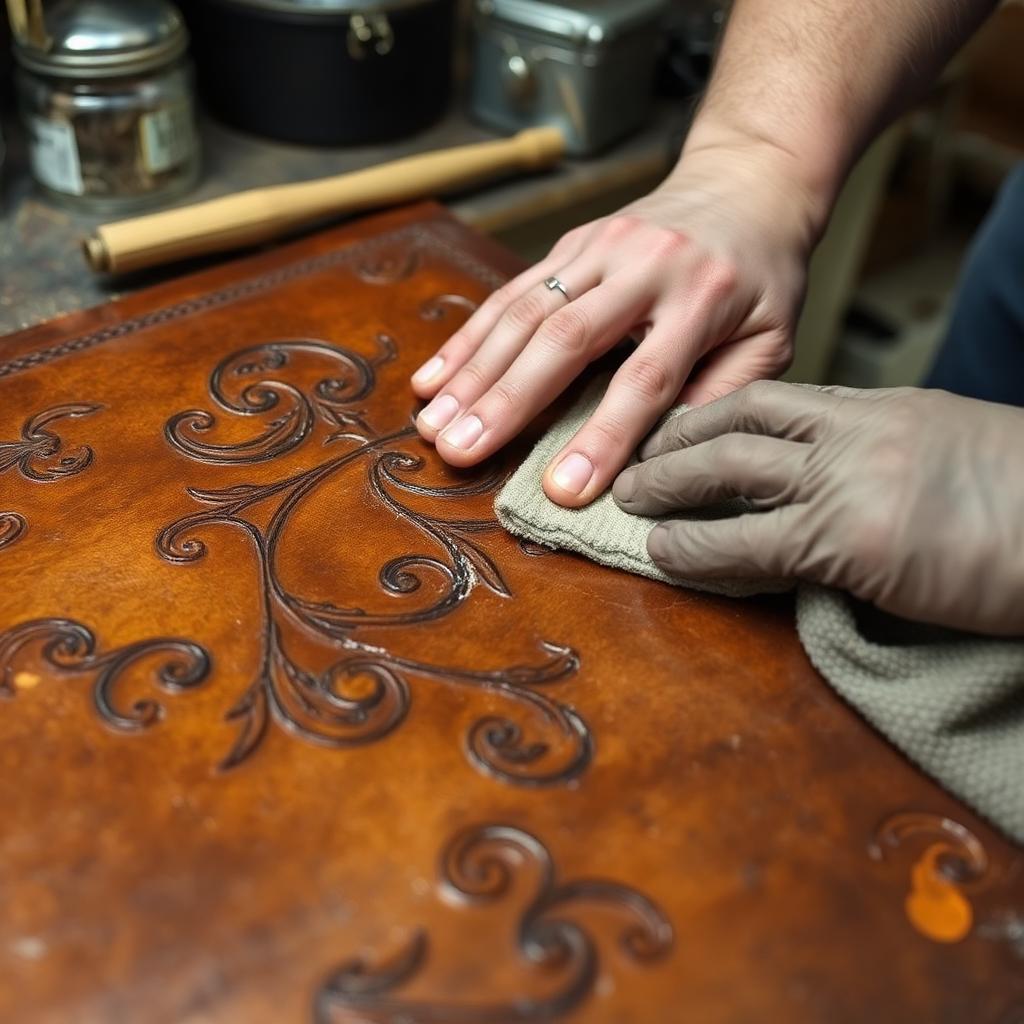
Antique gel sinks into tooled depressions and wipes off raised areas — but only if the resist is right. A step-by-step method with the failure modes explained.
What antiquing is for
Tooled leather photographs flat. You spend two hours carving and bevelling a design and the result, in even light, reads as texture rather than depth. Antiquing solves this by depositing pigment selectively into the low areas — the cuts, the bevelled shadows, the backgrounded field — while leaving the raised surfaces clean. The effect is instant contrast and apparent age.
It is the technique that most obviously separates finished tooled work from practice pieces, and it is also the technique with the highest chance of ruining a piece at the last step. Understanding the resist is the whole game.
The resist coat
A resist is a clear finish applied before the antique that seals the raised surfaces so pigment cannot penetrate them. Because the finish sits on top of the leather rather than soaking into every crevice equally, the deep cuts remain relatively porous and the flat areas do not.
Common resists are acrylic finishes such as Super Sheen or Resolene thinned roughly 50:50 with water, applied in one or two thin, even coats with a damp sponge or airbrush. Thin is essential: a heavy resist coat fills the cuts as well and you lose all contrast.
Let the resist cure properly — at least a couple of hours, preferably overnight in a warm dry room. A resist that is still soft will lift when you rub the antique across it, producing streaks that cannot be corrected.
Applying the antique
Work in sections small enough that you can wipe back before the gel begins to set — roughly a hand's width at a time on a large panel. Apply with a soft cloth or sponge, working the gel firmly into the cuts in circular motions so it reaches the bottom of every impression.
Then wipe. Use a clean, dry cloth and firm even pressure, moving across the surface rather than into the cuts. What remains in the depressions is your contrast. If too much stays on the flat areas, wipe harder and faster; if the flat areas go completely clean and the cuts do too, your resist was too heavy.
Do not stop halfway. Antique that dries on the surface while you fetch a fresh cloth is far harder to remove and may need a damp cloth, which risks disturbing the resist. Assemble everything you need before you open the tin.
Failure modes and fixes
Blotchy flat areas mean uneven resist coverage, usually from applying it with a brush that left ridges. Fix by wiping back immediately with a slightly damp cloth, then reassess; you may be able to apply a second antique pass to even it out.
No contrast at all means the resist went into the cuts. This is unrecoverable in the sense that the piece will never have deep shadows, but a darker antique or a second application will produce some separation.
Streaking usually means the resist was not cured, the cloth was dirty, or the panel was worked in strips with visible boundaries. Work in overlapping circles rather than rows and the boundaries disappear.
Test everything on an offcut tooled with the same stamps, same resist, same antique. Ten minutes of testing has saved more tooled panels than any other habit.
Sealing and estimating quantity
Antique gel is not a finish; it is pigment sitting in surface depressions and it will transfer to clothing if left unsealed. After the antique has dried fully — give it several hours — apply a final protective topcoat, again thinned and in light coats, and expect it to slightly reduce contrast. Plan for that by antiquing a shade stronger than you want.
Quantities are small and easy to over-buy. A 4 oz tin of antique gel will treat a great many panels because you are wiping most of it off; the resist and topcoat are what you consume. As a rough guide, budget around 25 to 40 millilitres of thinned finish per square foot per coat, and more for thirsty unfinished veg-tan.
Track drying and curing times in a notebook alongside temperature and humidity. Finishing is the one part of leatherwork where the workshop environment changes the result more than the technique does, and after a season of notes you will be able to predict your own timings instead of guessing.
Colour choice for the antique deserves a moment's thought. A dark brown antique over tan gives the classic aged saddlery look and is very forgiving. Black gives strong graphic contrast but reads as harsh over warm tans and shows every place your wipe was uneven. Coloured antiques — green, burgundy, blue — work best over a base dye of a related hue rather than over natural leather.
Finally, plan antiquing as the last wet step before assembly wherever possible. Antiquing a completed, stitched item means working gel around hardware and into seams, where it collects and dries as a dark line you did not intend. Finish the panels flat, let them cure fully, and then build the object.
Tools mentioned in this article
- Leather Dye Dosage Estimator — Mix the right amount of dye for the area and number of coats.
- Edge Finishing Timer — Plan realistic time for sanding, edge coat and burnishing.