Wallet Pattern Fundamentals: Allowances, Card Slots and Stack Height
19 July 2026 · 9 min read · Cutting & Pattern
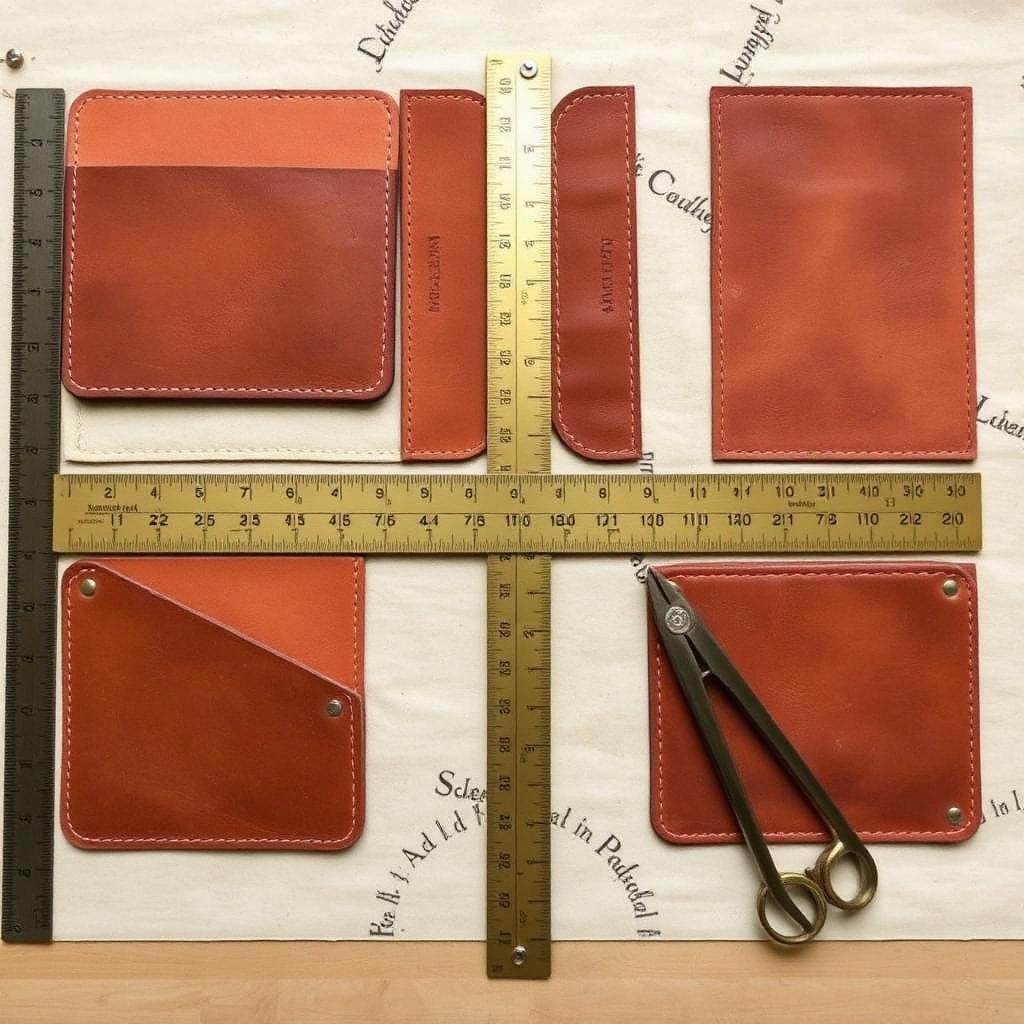
A wallet fails on millimetres. Here is how card slot geometry, turn allowance and cumulative thickness decide whether your pattern works before you cut anything.
Start from the card, not the wallet
Every card-carrying wallet in the world is dimensioned around one object: the ID-1 payment card, 85.6 mm by 53.98 mm, about 0.76 mm thick. Design outward from that rectangle and the wallet works; design an attractive outline first and try to fit cards into it afterwards and you will spend an evening discovering that 2 mm is missing.
Add clearance rather than working to the exact card dimensions. A slot 88 mm wide gives a card room to enter without forcing; 86 mm binds as soon as the leather relaxes and the edges thicken. Two millimetres of horizontal clearance is a good default for lined slots and three for unlined ones where the flesh side grips.
Card slot geometry
A stacked card slot panel works by exposing a strip of each layer. The visible reveal — the distance between the top edge of one slot and the top edge of the one behind it — is typically 12 to 16 mm. Below about 10 mm, the cards behind are hard to identify and hard to grip. Above about 18 mm, the panel becomes tall and the wallet stops folding neatly.
Each slot panel needs an overlap behind the one in front of it so there is material to stitch. Fifteen millimetres of overlap is generous; ten is workable. Multiply the reveal plus overlap by the number of slots and you have the height of the raw panel stack before you add the bottom pocket.
The critical dimension people forget is that the lowest slot must sit high enough that a card in it does not protrude past the wallet's bottom edge, and the top slot must be low enough that a card does not stick out of the top when the wallet is folded. Draw the cards on your pattern in position, in outline, before you commit.
Turn allowance and edge treatment
How much material you add around the outline depends entirely on how you will finish the edge. A raw-edge, stitch-through construction needs only enough beyond the stitch line to hold — 3 to 4 mm from hole centre to edge for small goods. A turned edge, where the leather is skived and folded back over itself, needs the fold depth plus the skive ramp, typically 8 to 10 mm.
Getting this wrong is expensive because it changes the finished size, not just the raw size. A pattern drawn to a 190 mm finished width, cut with a 4 mm allowance and then turned, finishes at 182 mm and every internal panel is now too wide.
Write on each pattern piece which allowance it carries and whether the drawn line is the cut line or the finished line. It seems pedantic until the third time you cut a panel to the wrong line.
Cumulative thickness, the silent killer
Count the layers at the thickest point of your design, which is almost always the spine of a bifold at the level of the lowest card slot. In a typical six-slot bifold that point carries: outer, lining, slot panel one, two, three, and often a reinforcement. At 1.0 mm each that is 6 mm folded to 12 mm at the spine, plus six cards at 0.76 mm.
This is why bifold wallets bulge. The fix is a combination of thinner leather in the interior — 0.6 to 0.8 mm for slot panels is normal — and aggressive skiving of every overlap so that no seam carries more than it needs to. It is also why the very best wallets use fewer, cleverer slots rather than more.
Do the arithmetic before you cut. A one-line sum on paper prevents a full day of stitching a wallet that will never close.
Scaling and prototyping
Prototype in something cheap. Manila card, thin chipboard or a scrap of garment leather will reveal fit problems for the price of nothing. Assemble the mock-up with double-sided tape and put real cards in it. Nine times out of ten you will change a dimension, and doing that on card rather than on a 40 currency unit panel of shell cordovan is the whole point.
When you scale an existing pattern — enlarging a card holder into a long wallet, say — remember that not everything scales. Card slots stay the same size because cards do. Stitch margins stay the same because thread and hole size do not change. Only the free dimensions scale, and applying a uniform percentage to everything is the classic way to produce a pattern that looks right and fits nothing.
Keep a master copy of every pattern that works, in a marked envelope, with the leather weight and finished dimensions written on it. Patterns you can reproduce are an asset; patterns you have to re-derive are a chore.
Tools mentioned in this article
- Pattern Scaling Calculator — Resize a pattern accurately and see how area and thread change.
- Leather Consumption Estimator — Estimate the hide area a project needs before you buy leather.