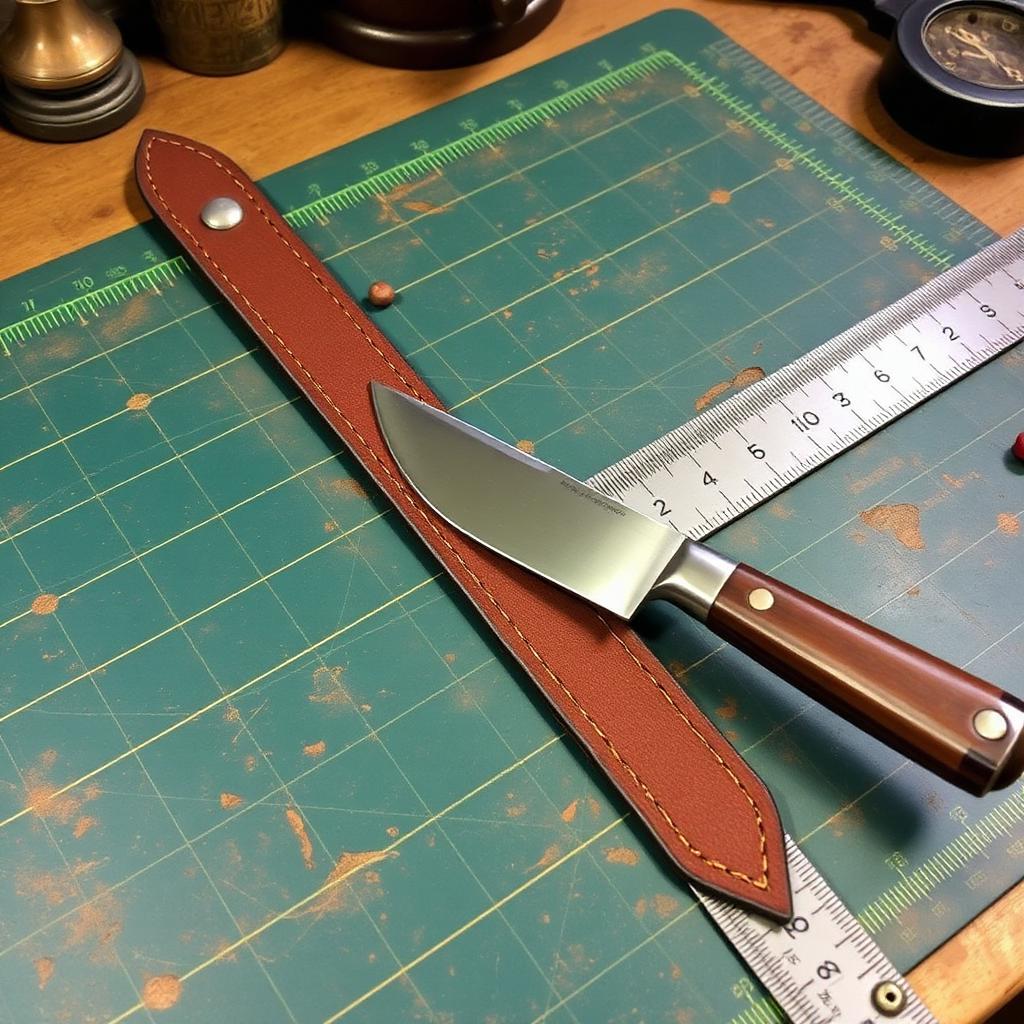
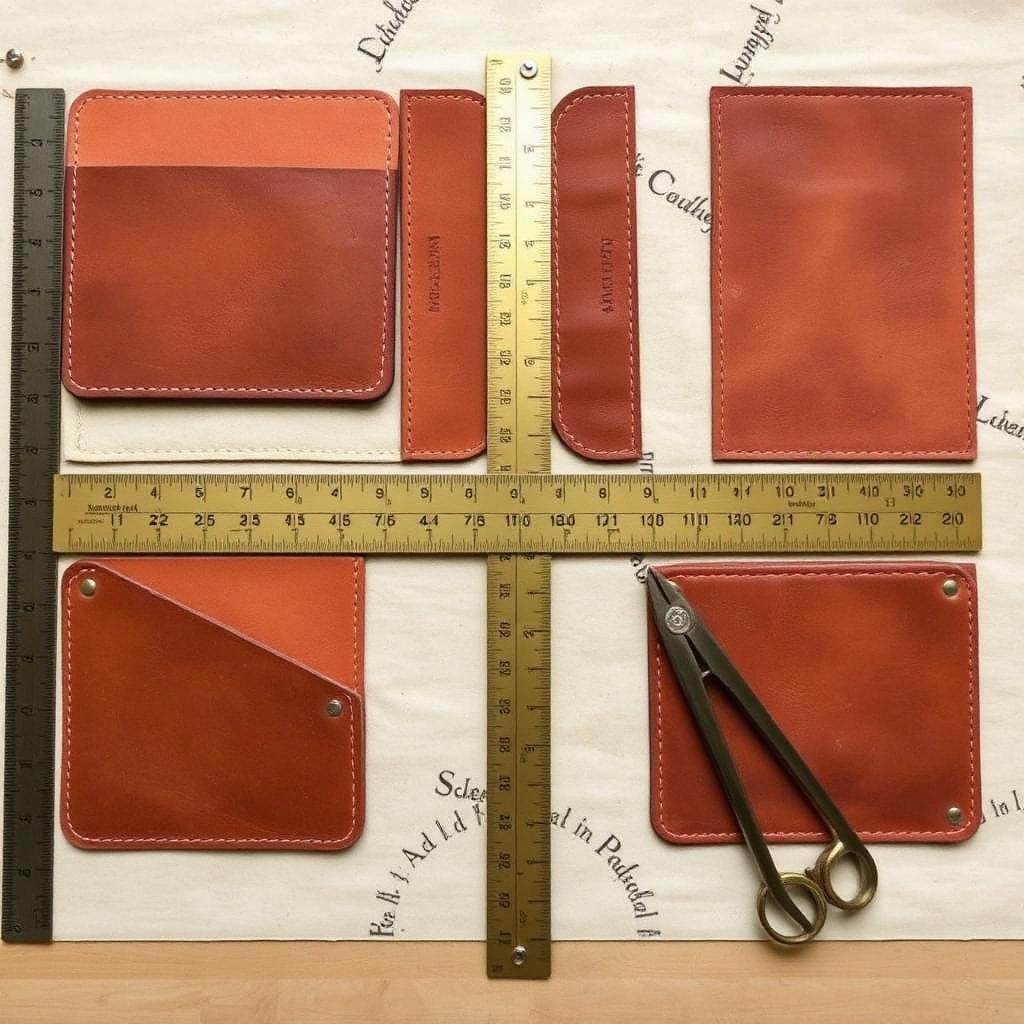
Skiving: Controlling Thickness Where Layers Meet
22 July 2026 · 8 min read · Cutting & Pattern
Folded edges, overlapping seams and turned linings all fail the same way — too much bulk. Skiving is how you get thickness under control before it becomes a problem.
Why bulk is the enemy
Leather does not compress much. When you fold a 1.4 mm panel over on itself and stitch it to a 1.2 mm lining, the seam is carrying 4 mm of material and it will look and behave like 4 mm: stiff, proud of the surrounding surface, and prone to gaping at the corner where three folds meet. Every well-made bag or wallet you have handled has had this problem solved invisibly by skiving.
Skiving is simply the removal of material from the flesh side to reduce local thickness — usually along an edge, sometimes across a broad area. It is the difference between a wallet that closes flat and one that sits like a sandwich, and it is the single technique most likely to move a maker's work from competent to refined.
The four skives you will actually use
An edge skive tapers the last 8 to 12 mm of a panel down to roughly half thickness or less, so that when the edge is folded or overlapped the doubled section matches the surrounding material. This is the workhorse and accounts for most skiving in small goods.
A fold skive is a shallow channel along a fold line, thinning the leather so it bends cleanly without cracking the grain. On thicker leather this is often cut as a V groove rather than a taper, using a groover or the corner of a chisel.
A lap skive tapers two panels in opposite directions so that when overlapped they produce a joint of the original single thickness — used on belt keepers, strap splices and continuous bag gussets.
A general skive removes thickness across a whole panel, typically a lining or a card pocket, so the finished stack does not exceed what the design can carry. This is the most tedious and the most often skipped.
Tools and how each behaves
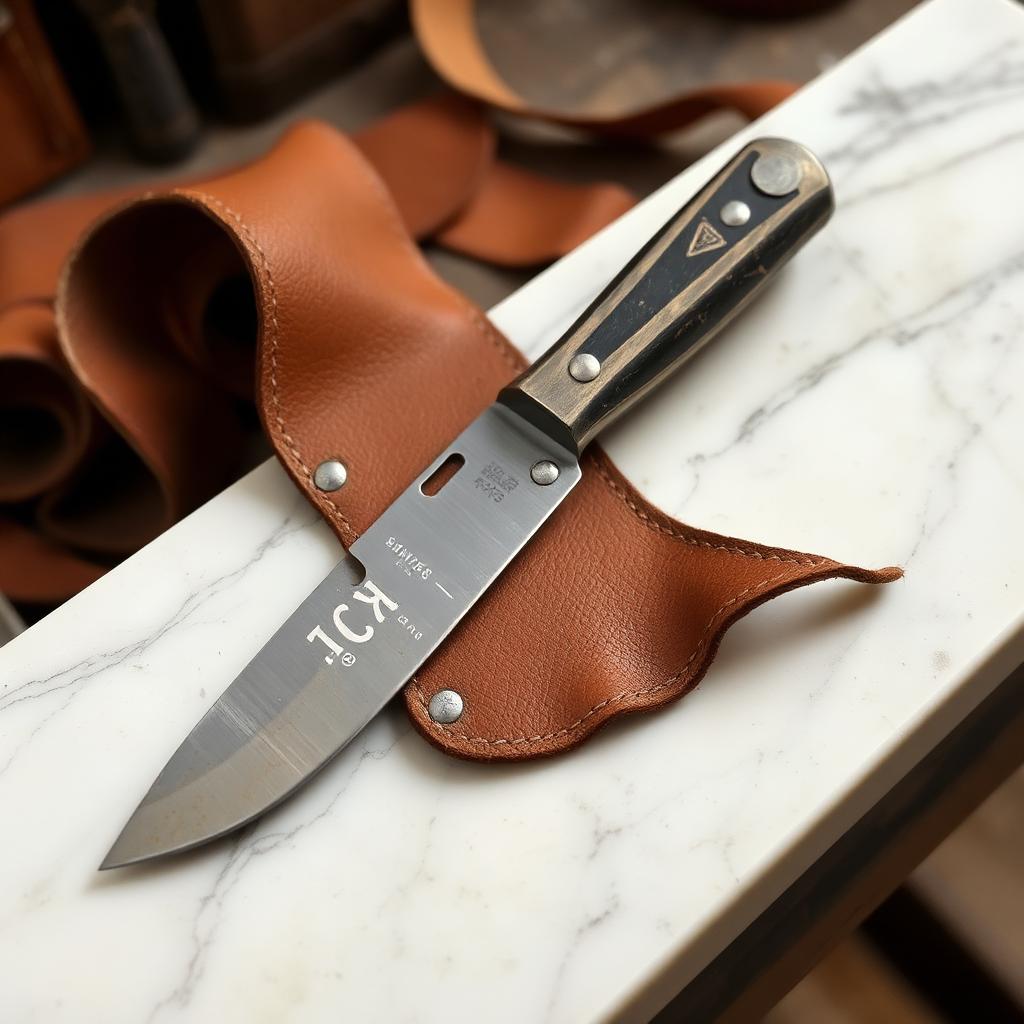
The classic hand tool is the French or English paring knife: a flat blade with a wide bevel, pushed almost parallel to the leather on a hard, smooth surface. A marble or granite slab is ideal because glass chips and wood absorbs the pressure. It gives complete control and demands a genuinely sharp edge — sharper than most people think acceptable, sharp enough to shave hair.
A safety skiver or bevel-edge skiving tool takes a replaceable razor blade and is far easier to start with. It cannot cut a broad general skive well but it handles edge skives on thin leather adequately. Blades are consumable; change them far more often than feels reasonable.
For volume, a bell knife skiving machine is the professional answer, but it is a five-figure purchase and needs setup skill of its own. Between the extremes, a well-honed round knife used with a slicing motion handles most work and doubles as your cutting knife.
Technique that actually works
Work flesh side up, with the panel held flat against the slab by your non-cutting hand spread wide. Set the blade at a very shallow angle — closer to five degrees than twenty — and push forward with a slight sideways slicing motion rather than straight ahead. The slice does the cutting; force does not.
Take multiple thin passes. Trying to remove half the thickness in a single stroke produces a stepped, gouged edge and usually a cut through the panel. Three light passes take twenty seconds and produce a smooth ramp.
Dampening the leather very slightly helps on firm vegetable tanned stock and hurts on soft chrome tanned stock, which will drag and tear when wet. Test on an offcut from the same hide every time; hides vary more than categories do.
Planning skives into the pattern
The mistake that causes most skiving problems is treating it as a step you do at assembly. By then the panel is cut and you are improvising. Instead, mark skive zones on the pattern itself — a hatched band along every fold, turn and overlap — and note the target thickness for each.
Doing this forces you to add up your stack thicknesses at the design stage. Take each seam in the object and write down what passes through it: outer, lining, reinforcement, pocket. If the total exceeds about 4 mm for a wallet or 6 mm for a bag, something needs skiving or the design needs changing.
Converting between ounces and millimetres constantly is part of this work, because suppliers quote weight and patterns need dimensions. Keep a converter to hand and record everything in millimetres in your own notes so that stack arithmetic stays trivially checkable.
Finally, keep your offcuts from skiving. The long thin ribbons of leather that come off an edge skive are useless for panels but ideal for testing dye, checking edge paint colour, practising a new blade angle or shimming a press form. A jar of them beside the bench costs nothing and repeatedly saves a full test piece.
Skiving rewards deliberate practice more than almost any other skill in the craft. Spend one session doing nothing but edge skives on scrap, aiming for a ramp you can feel is even with a thumbnail, and the improvement in your finished work over the following month will be out of all proportion to the hour invested.
Tools mentioned in this article
- Leather Thickness Unit Converter — Convert between ounces, millimetres and inches instantly.
- Pattern Scaling Calculator — Resize a pattern accurately and see how area and thread change.