Adhesives for Leatherwork: What Holds, What Slips, What Ruins Grain
4 August 2026 · 10 min read · Cutting & Pattern
Glue in leatherwork is an assembly aid, not a structural bond — except when it is. Knowing which adhesive to reach for and how to prepare the surface saves whole projects.
The role of glue in a stitched object
In traditional leatherwork the thread carries the load and the glue holds the panels still while you make the holes. That framing is useful because it stops you relying on adhesive where you should be stitching, and it stops you fretting about ultimate bond strength on a seam that will be stitched at 3 mm intervals anyway.
But it is not the whole picture. Modern small goods frequently use unstitched glued laminations — a lining bonded to a panel across its whole face, a stiffener sandwiched inside a strap — and those bonds are genuinely structural in the sense that failure would delaminate and ruin the item even though no load passes through them.
So there are really two glue jobs: temporary positioning along a seam allowance, and permanent full-face lamination. They call for different products, different coverage and different amounts of surface preparation, and conflating them is why some makers find that 'glue never holds' while others rely on it happily.
Contact cement
Contact cement is the workshop default. Applied thinly to both surfaces, allowed to become tacky rather than wet, and then brought together under pressure, it grabs instantly and permanently. That instant grab is the great virtue and the great danger: there is no repositioning. Panels must be aligned correctly on first contact.
The technique that avoids disaster is the slip sheet. Lay a strip of silicone paper or thin card between the two tacky faces, align the panels, then withdraw the sheet progressively while rolling the bond down behind it. This gives you the alignment control of a wet glue with the strength of a contact bond.
Solvent-based contact cements bond faster and stronger but need real ventilation and are increasingly restricted. Water-based versions have improved dramatically and are now adequate for most small goods; they take longer to reach tack, are more sensitive to humidity, and give a slightly more flexible bond line, which is usually an advantage in leather.
PVA, rubber cement and specialty options
White PVA wood glue is common in bookbinding-adjacent leatherwork and for bonding leather to board. It is repositionable while wet, dries clear and flexible enough for most laminations, and cleans up with water. It is not appropriate for a seam allowance that will be stressed before the glue cures, and it can wick through thin leather and stain the grain.
Rubber cement is deliberately weak and that is its purpose. Use it for a temporary hold — positioning a pocket while you mark stitch lines, or holding a template — where you intend to separate the parts again. Do not use it anywhere in a finished assembly; it creeps under sustained load and eventually lets go.
There are also flexible polyurethane and specialised leather cements that stay elastic indefinitely. These are worth the price on items that flex constantly at the bond line, such as a soft bag gusset. The test is simple: fold a glued offcut back on itself repeatedly and see whether the bond line cracks or the leather does.
Surface preparation decides everything
Adhesive bonds to fibres, not to finishes. Gluing to a smooth, sealed, pigmented grain surface produces a bond that peels off in one satisfying sheet, which is exactly what will happen inside a customer's bag six months later. Any grain-side bond must be roughed first.
Roughing means abrading the bonding area to expose raw fibre, using a stiff wire brush, coarse sandpaper or a dedicated roughing tool. Confine the roughed area strictly to the glue line: an over-enthusiastic scuff that extends past the seam will show as a scarred band along the finished edge.
Flesh-side to flesh-side bonds need much less preparation because the fibre is already exposed, but they benefit from a light pass to remove loose fuzz that would otherwise form a weak layer between the two glue films. Wipe both surfaces free of dust before applying anything.
Coverage, clamping and cure
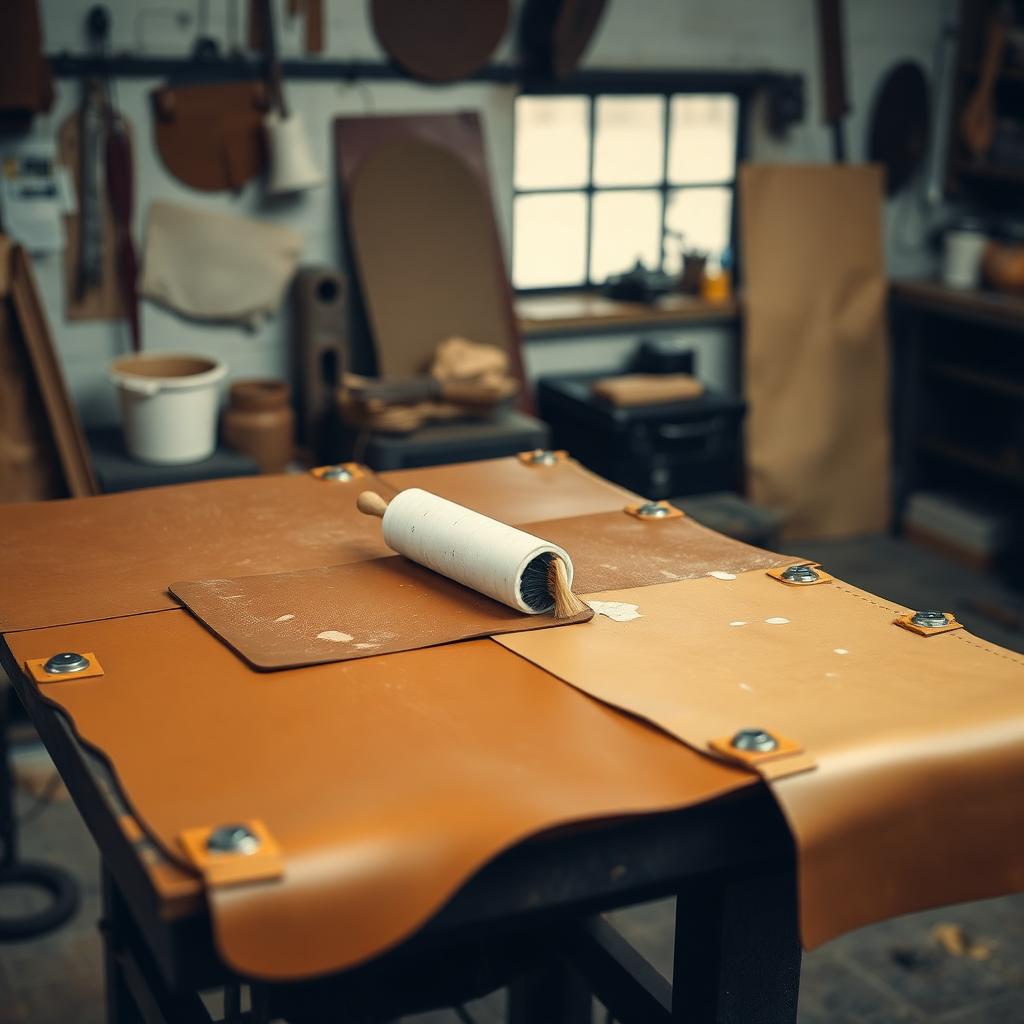
Thin and even beats thick and generous every time. A heavy bead of contact cement never fully flashes off, stays soft in the middle, and squeezes out along the edge where it dries as a hard ridge that fouls the burnisher. Spread with a scrap of card or a small roller until the film is uniform and matte.
Pressure matters more than clamp time for contact adhesives. Roll the bond firmly with a wallpaper seam roller or hammer it down through a scrap of leather; the objective is intimate contact across the whole area, achieved in seconds. Wet glues do need genuine clamping, and clamp marks in leather are permanent, so pad every clamp face.
Respect the cure. Most adhesives reach handling strength quickly and full strength in twenty-four hours. Punching stitch holes an hour after gluing is normal practice; putting the finished item under load the same day is asking the bond to work before it is ready.
Where glue must not go
Keep adhesive out of the stitch channel where you can. Punching through a thick glue line dulls chisels quickly and gums the blade, and a solvent-softened thread can wick adhesive into the seam and stiffen it. A glue line inset a millimetre from the stitch row holds just as well.
Never glue over an area you intend to dye. Adhesive residue on the grain acts as a resist and produces pale blotches that no amount of dye will even out. Any squeeze-out on a visible surface must be removed while it is still rubbery — a crepe rubber block lifts contact cement cleanly.
And do not glue a repair that should be stitched. A delaminating handle glued back down will fail again in the same place under the same load. Diagnose why the original joint failed before choosing the repair method; if the answer is 'it was never strong enough', the fix is a different joint, not more adhesive.
Planning material around glued assemblies
Laminated construction changes your material maths. A fully lined wallet uses roughly twice the panel area of an unlined one, plus the lining allowance for trimming after bonding, because lined panels are almost always glued oversize and cut to final shape as a unit.
That trim allowance is real consumption and belongs in your estimate. Ten millimetres of overhang around every lined panel adds up quickly across a batch, and it is a frequent reason a hide runs short against a plan that only counted finished dimensions.
The consumption estimator and cutting waste calculator on the site let you add that allowance explicitly rather than discovering it at the cutting mat. As with everything in leatherwork, the cost of thinking it through in advance is a few minutes; the cost of not doing so is a hide.
Tools mentioned in this article
- Leather Consumption Estimator — Estimate the hide area a project needs before you buy leather.
- Cutting Waste Calculator — Measure how efficiently your layout uses a hide.