Edge Finishing: Burnishing, Painting and Knowing Which to Use
23 June 2026 · 8 min read · Dyeing & Finishing
A slick burnished edge and a crisp painted edge solve different problems. Here is how to choose, and how to execute each one properly.
Edges are where quality is judged
Ask an experienced buyer how they assess a leather good and most will turn it over and run a thumb along the edge. Stitching can be photographed flatteringly, hardware can be bought, but an edge is a record of patience. A rough, fuzzy, unsealed edge tells you the maker stopped when the piece became functional. A glassy, even edge tells you they kept going.
Edges also fail first in use. Water and dirt enter through the exposed fibre of a raw edge, and the layers of a stacked panel begin to separate at the corner where they meet. Finishing an edge is therefore not decoration; it is the seal that determines how the piece ages.
Burnishing: for vegetable tanned leather
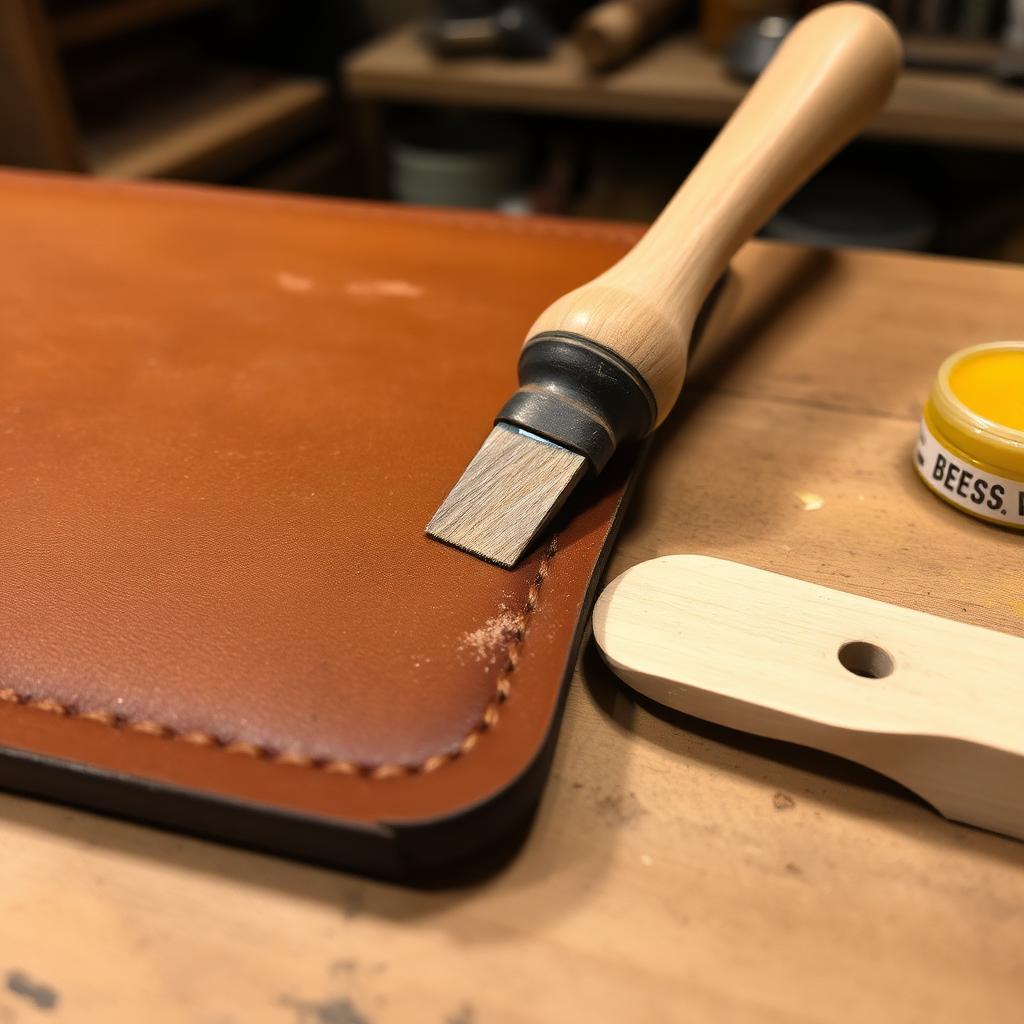
Burnishing works by friction. Heat and pressure applied to damp fibres, usually with a wooden or canvas slicker, compress and fuse them into a hard, glossy surface. It only works properly on vegetable tanned leather, because the tannins and the dense fibre structure respond to heat in a way that chrome tanned leather simply does not.
The sequence matters more than the tools. Bevel both faces first — a burnished edge with sharp corners never rounds properly. Sand progressively: 400 grit, then 800, then 1200 if you want a mirror. Skipping straight to fine grit leaves the deeper knife marks intact under a shine, and they will show.
Dampen the edge with water or a gum tragacanth solution, then slick briskly until the edge warms and darkens. Repeat two or three times, sanding lightly between passes. Finish with a wax — beeswax or a paraffin blend — and one last hard slicking. The result should feel like polished horn.
Common failures: too much water, which makes the fibres pulp rather than compress; too little friction, which never generates the heat needed; and impatience with the sanding stages, which is by far the most frequent cause of a disappointing result.
Edge paint: for anything that will not burnish
Chrome tanned leathers, thin linings, laminated stacks of dissimilar materials and anything with a fabric layer will not burnish. For these, edge paint — a flexible acrylic or polyurethane compound — builds a coloured film over the edge instead.
Painted edges are built in thin layers. Apply a first coat as a primer, working it into the edge rather than laying it on top. Let it dry fully, then sand lightly with 600 grit to knock down any beading. Apply a second coat, dry, sand again, then apply a third. Two coats look like two coats; four coats look like a factory finish.
Heat helps. A gentle pass with an edge iron or a heated creaser after the final coat levels the film and produces the rounded profile seen on high-end goods. Too much heat scorches the paint and the leather beneath it, so test on scrap and keep the iron moving.
Drying time between coats is not negotiable. Most edge paints are touch-dry in twenty minutes but need one to two hours to cure enough that sanding does not tear the film. Rushing produces a soft, gummy edge that peels within months.
Choosing between them
Use burnishing for vegetable tanned belts, straps, sheaths, holsters and any piece where a natural, self-coloured edge suits the design. Burnished edges age beautifully, deepening in colour with the rest of the leather, and they can be refreshed years later with nothing but wax and friction.
Use edge paint for chrome tanned bags, multi-material stacks, and any piece where you want a contrasting or precisely matched colour. Painted edges look sharper when new and give a modern, formal appearance, but they are a coating and coatings eventually chip.
Some makers combine both: burnish first for a compressed base, then apply one or two coats of paint for colour. This gives an unusually durable result and is worth the extra hour on pieces that will see heavy use.
Planning finishing time
Edge work is slow, and underestimating it is the most common cause of missed deadlines in small workshops. A four-coat painted edge with sanding and curing between coats occupies at least six hours of elapsed time, even though the hands-on work is perhaps forty minutes.
Sequence the work so that curing happens while you do something else. Paint the first coat, cut the next project's panels, sand and paint again, dye a different piece, and so on. Elapsed time is only wasted if you stand and watch it.
The finishing timer on this site builds a coat-by-coat schedule from your product, coat count and workshop conditions, so you can see when the piece will genuinely be ready rather than hoping it dries faster because you need it to.