Setting Rivets and Snaps Without Ruining the Panel
3 August 2026 · 10 min read · Stitching & Hardware
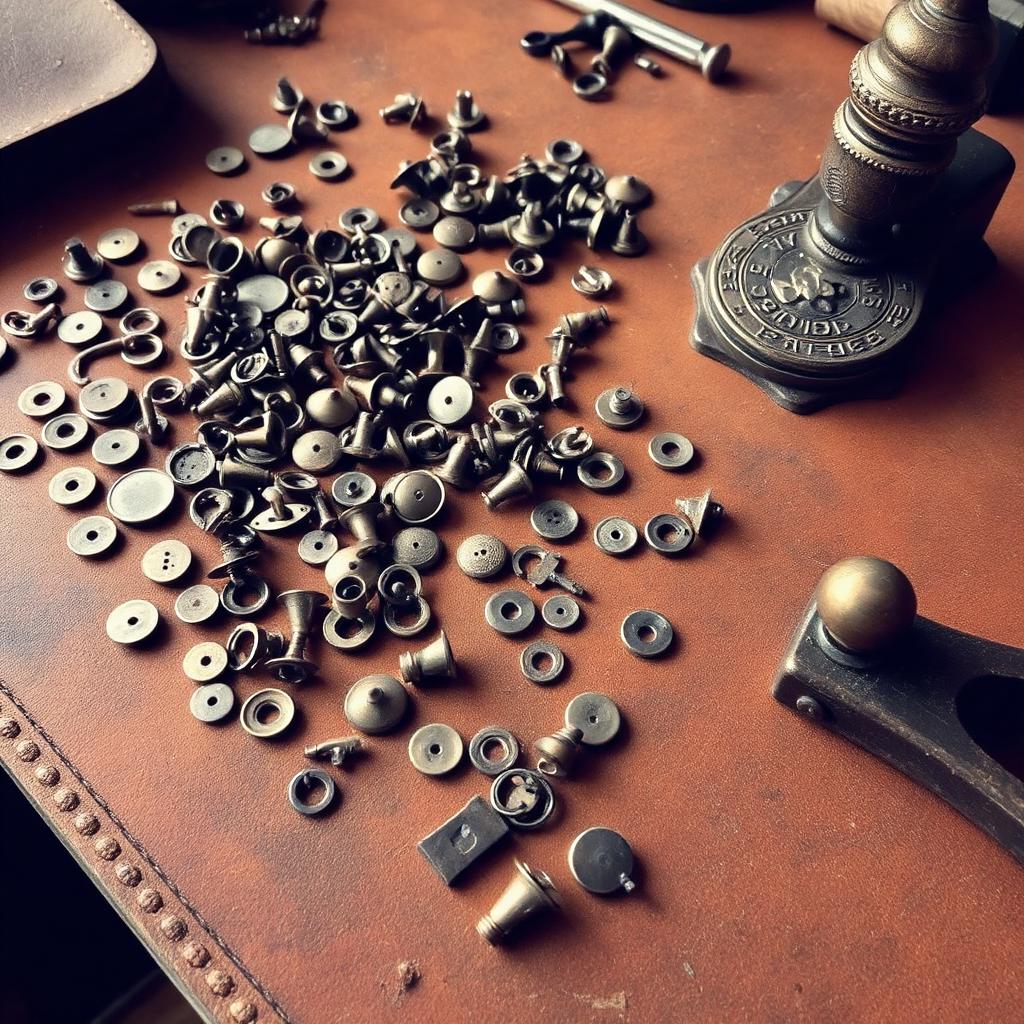
Hardware failures are almost never the hardware's fault. Post length, hole size, anvil choice and a controlled strike decide whether a rivet holds for decades or spins loose in a week.
Why hardware fails
A rivet that spins, a snap that pops open under load, a burr that lifts and catches on clothing — these are the failures that turn an otherwise good piece into a returned one. In almost every case the cause is a mismatch between the hardware and the stack it was set into, decided minutes before the mallet came down and never checked afterwards.
The three variables are post length relative to material thickness, hole diameter relative to post diameter, and the tooling used to deform the post. Get all three right and even inexpensive hardware holds indefinitely. Get any one wrong and premium solid brass fails just as fast.
There is also a structural question that comes before all of it: is a rivet the right fastener here at all? Rivets resist shear well and tension poorly. A strap end taking a straight pull is a good rivet application. A handle attachment that levers away from the body is not, and should be stitched, or riveted and stitched together.
Getting post length right
For a double-cap rivet, the working rule is that the post should protrude roughly two to three millimetres above the top surface of the stack before setting. That protrusion is the material that spreads inside the cap and locks it. Too little and the cap sits on the post without gripping; too much and the post buckles sideways, tipping the cap and leaving a wobbly, proud fastening.
So measure the stack, not the leather. Two panels of 2 mm leather plus a webbing layer is not 4 mm, it is 4 mm plus whatever the webbing compresses to. Set a test piece from the same offcuts at the same total thickness before committing to a batch, and keep the test piece labelled with the rivet size that worked.
Rivet sizes are quoted inconsistently across suppliers — some list post length, some list total length including the cap, some list a vague 'for 3–4 mm leather'. Convert everything into millimetres of post and record it in your own notes. Once you have three or four verified combinations you will cover most of what you make.
Hole size and punching
The hole should be a snug interference fit on the post: the post should need a light push to enter, not drop through. A hole that is too large lets the post move within the leather, and the movement wears an ever-larger hole until the rivet spins. A hole that is too small forces the post off-axis as you push it through, and it will set crooked.
In practice this usually means punching one size below what looks right by eye. For a 3 mm post, a 2.5 mm punch in firm vegetable tan is often correct because the leather compresses. Softer leathers need closer to nominal. Always punch a test hole in the actual material.
Punch cleanly, from the grain side, on end grain or a poly cutting board rather than a hard surface that blunts the punch. A drive punch that has gone dull tears rather than cuts, leaving a ragged hole with a weakened rim. Sharpen or replace punches long before they feel obviously blunt.
Anvils, setters and the strike
Every cap-style fastener needs a concave anvil that supports the outer dome without flattening it, and a matching concave setter for the top. Setting a domed cap on a flat steel plate flattens the dome and often cracks the plating. A cheap set of concave anvil blocks solves this permanently.
The strike itself should be one or two firm, square blows, not a rain of taps. Repeated light strikes work-harden the metal and produce a cap that looks set but has not properly spread inside. Hold the setter perfectly vertical — a tilted setter drives the post sideways, which is the single most common cause of a lopsided rivet.
A hand press removes almost all of this variability, which is why anyone setting hardware in volume buys one early. The press applies smooth, axial, repeatable pressure with the die held in alignment, and the reject rate drops close to zero. If you are setting more than a few dozen fasteners a month, it pays for itself in wasted panels avoided.
Snaps are a different problem
A snap is four components in two mated pairs, and each pair has its own setting requirement. The socket and stud halves must be set on opposite faces of their respective panels and must align with each other when the item closes — an alignment error of a millimetre is enough to make a closure feel wrong even if it functions.
Mark the mating position with the item assembled and closed, not by measuring both panels separately. Set the first half, close the piece, press firmly so the set half leaves an impression on the opposing panel, and punch there. This transfers real-world alignment rather than theoretical alignment.
Snap strength is also a design choice. Line 20 snaps are appropriate for wallets and light closures; line 24 for bag flaps and heavier straps. Using a heavy snap on thin leather transfers so much force to the panel on opening that the leather tears around the fastener long before the snap wears out. Reinforce the area with a bonded backing patch when the leather is thinner than about 2 mm.
Counting hardware before you order
Under-ordering hardware stops a production run dead, and shipping a handful of replacement rivets often costs more than the rivets. Count from the pattern: every strap end, every keeper, every flap, every D-ring attachment, then multiply by the batch size and add a failure allowance.
A realistic allowance is five to ten per cent for hand setting and two to three per cent with a press. Beginners should budget more; the first fifty rivets of any new size will include several learning experiences. The hardware quantity estimator on the site handles this arithmetic for a batch, including the allowance.
Also order matched finishes in one go. Antique brass from two different suppliers, or from the same supplier six months apart, will rarely match exactly, and a bag with two slightly different brass tones is the kind of detail a customer notices immediately even if they cannot name what is wrong.
Repair and removal
Rivets can be removed without destroying the panel if you are careful. Drill the centre of the cap with a small bit until the cap loses its grip, then lever it off with a flat screwdriver protected by a strip of scrap leather. Do not try to punch a set rivet out from behind; it enlarges the hole beyond reuse.
Once removed, the hole is usually oversized. The honest repair is to plug it with a leather dowel and adhesive, let it cure fully, then re-punch, or to move the fastener and cover the old position with a decorative element. Setting a fresh rivet into a worn hole simply reproduces the original failure.
Keep a small stock of every hardware line you use in production specifically for repairs. Discontinued finishes are the bane of long-lived goods, and a customer returning a five-year-old bag for a snap replacement is one of the better problems to be able to solve well.
Tools mentioned in this article
- Hardware Quantity Estimator — Count rivets, eyelets and snaps before you order hardware.
- Leather Thickness Unit Converter — Convert between ounces, millimetres and inches instantly.