Awl or Chisel: Two Ways to Make a Stitching Hole
28 July 2026 · 9 min read · Stitching & Hardware
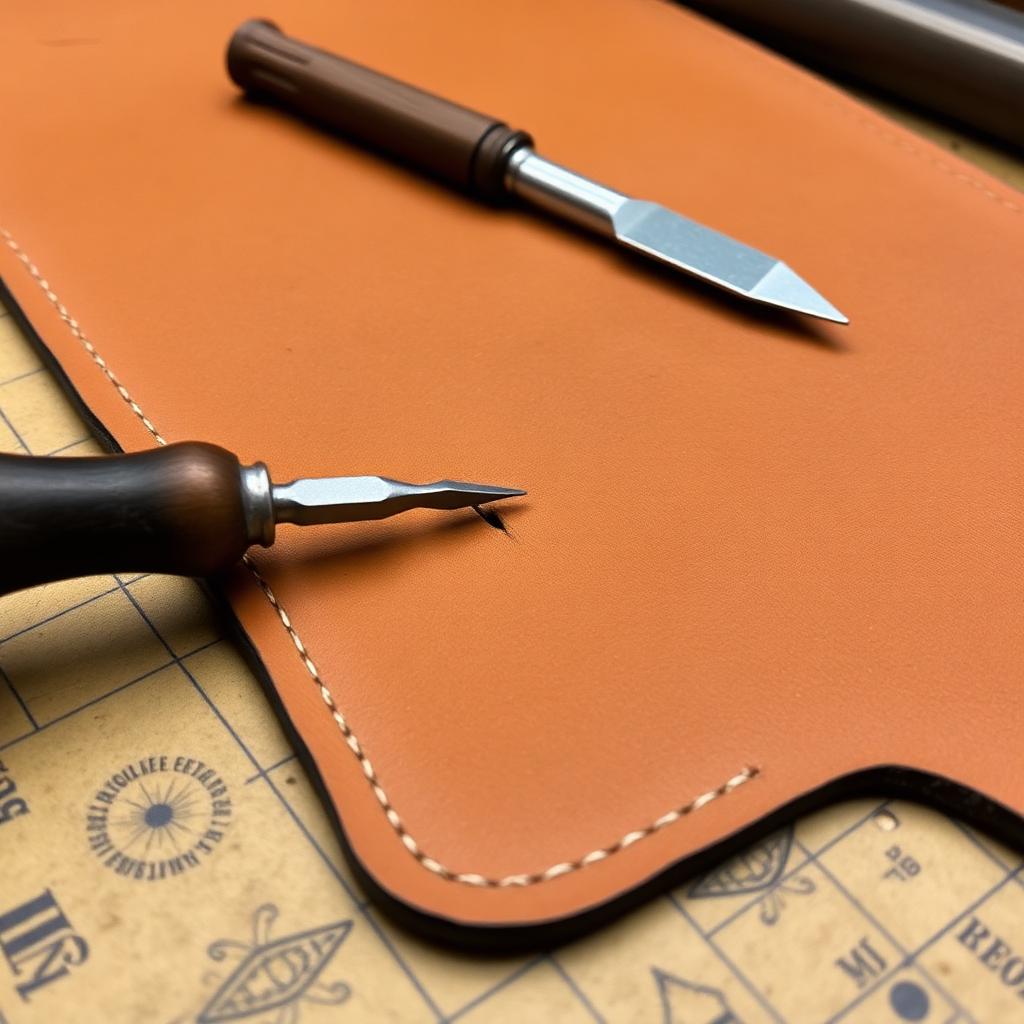
Diamond chisels punch straight through; a diamond awl pierces at an angle behind a pricking iron. The choice changes your spacing, your thread length and the look of the finished seam.
The same seam, made two different ways
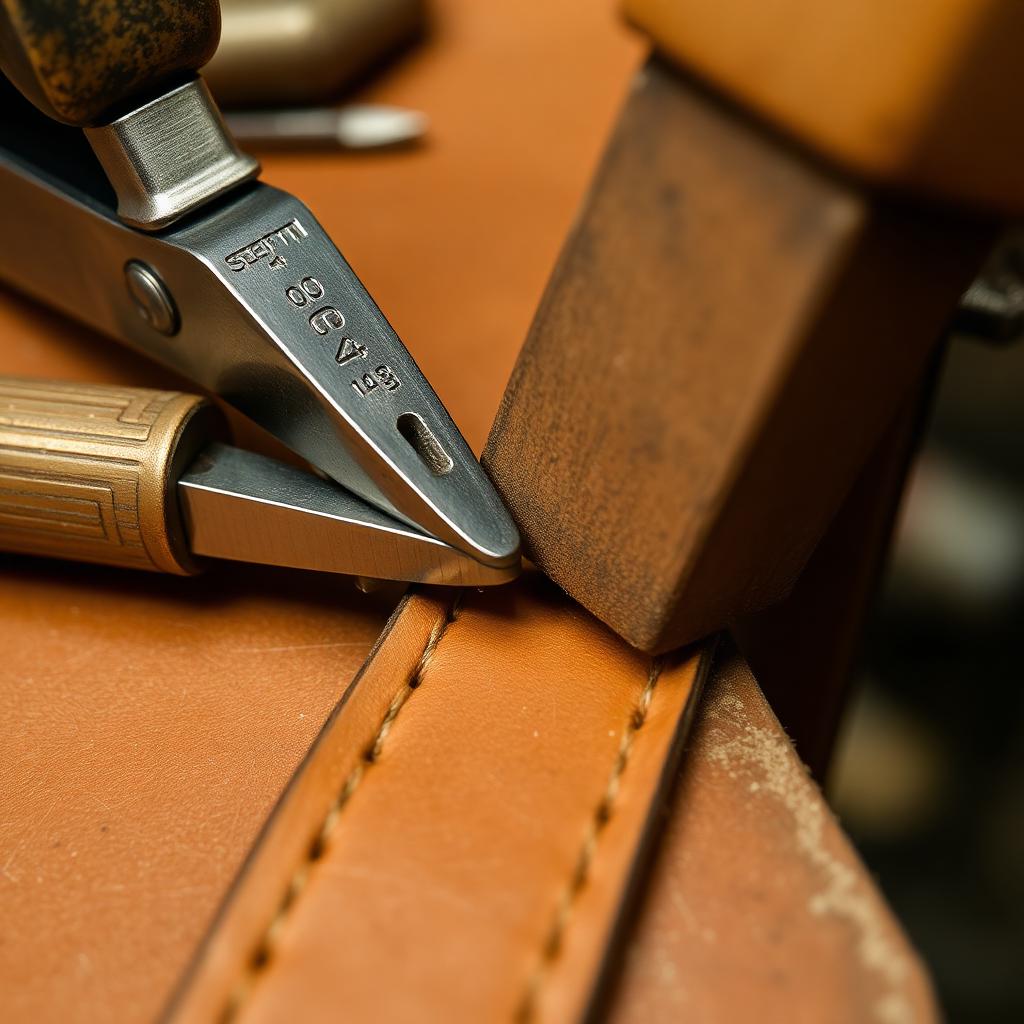
Every hand-stitched seam begins with a hole, and there are two established traditions for making one. The modern hobby route uses a diamond stitching chisel: a set of angled prongs driven through the leather with a mallet, cutting all the way through in a single strike. The saddlery route uses a pricking iron to mark the surface only, then a hand-held diamond awl to pierce each mark individually as you stitch. Both produce a slanted, angled seam. They do not produce the same seam.
The difference matters because the two methods remove material differently. A chisel cuts a slot of a fixed width and a fixed angle straight through the panel, so the hole on the flesh side is the same size as the hole on the grain side. An awl is pushed through at a controlled angle by hand, and the leather closes back around the blade as it withdraws, so the finished hole is smaller and tighter and the thread sits more snugly.
Neither is better in the abstract. A chisel is faster, repeatable and forgiving; an awl is slower, harder to learn and produces a tighter, more traditional line. Most working makers own both and choose per project.
Where chisels win
Chisels are consistent. Because the prongs are machined to a fixed spacing, every hole in a run is identically placed and identically angled, which means a beginner's third project can already look tidy. On thin to medium leather — anything up to about 3 mm total stack — a good chisel punches cleanly and leaves a hole that needs no further work.
They also let you punch the entire seam before you thread a needle. That has practical value: you can count your holes, check that both panels align, adjust the layout if the count comes out odd, and only then commit to stitching. Counting holes before stitching is the single easiest way to avoid the classic failure of arriving at the end of a seam with half a hole left over.
The main constraint is thickness. Driving a chisel through a stack over roughly 5 mm requires so much force that the prongs deflect, the exit holes wander, and the tool itself can bend. Punching from both sides to meet in the middle helps but rarely produces a truly straight channel.
Where the awl wins
An awl has no thickness limit that matters in practice. Saddlers routinely stitch stacks of 8 mm or more, piercing each hole as they reach it, because the blade is being pushed by hand with the leather clamped in a stitching pony and the exit point can be watched and corrected in real time.
The tighter hole is the other reason to learn it. A well-sharpened awl separates fibres rather than removing them, so the leather grips the thread and the seam remains water resistant and structurally sound for decades. This is why antique harness stitching survives when the leather around it has long since dried out.
The cost is skill. An awl blade must be stropped to a genuinely sharp edge and held at a consistent angle in three dimensions while you push. Beginners produce wandering exits and inconsistent slant for the first several hundred holes. Budget a couple of practice pieces before using it on work you care about.
Spacing, SPI and what actually changes
Both tools are specified in stitches per inch or in millimetres between hole centres. Common leatherwork sizes run from 3 mm (roughly 8 SPI) for heavy straps down to 2 mm (roughly 12 SPI) for wallets and small goods. Pricking irons are traditionally sold in SPI, chisels usually in millimetres, and the two do not map onto round numbers, which causes endless confusion when someone tries to continue a seam with a different tool.
The practical rule is never to mix tools within a project. A 3 mm chisel and a 9 SPI iron are close enough to look identical over five holes and visibly wrong over fifty. If you must switch, restart the seam layout from the beginning rather than trying to blend.
Spacing also drives thread consumption. Tighter spacing means more holes, more crossings and more thread per centimetre of seam — roughly proportional, so moving from 3 mm to 2 mm spacing increases your thread requirement by about half. Work it out before you cut the length rather than splicing halfway along.
A workable hybrid
Many makers settle on a hybrid that captures most of the benefit of each. Use a pricking iron or a chisel to mark and start the holes from the grain side, then finish each hole with the awl as you stitch. You get machined consistency in the visible line and hand-controlled exits on the back, which is exactly where the chisel-only method usually looks worst.
If you adopt this method, mark from the grain side always. The grain side is the face that will be judged, and any drift introduced by the awl should be pushed to the flesh side where a lining will cover it.
Whichever route you take, sharpen. A dull chisel crushes fibres and leaves a ragged exit; a dull awl requires so much force that your angle collapses. Ten minutes on a strop before a stitching session is the highest-return maintenance in the entire craft, and it costs nothing but attention.
Tools mentioned in this article
- Stitch Hole Spacing Calculator — Balance stitch holes across an edge with even end margins.
- Stitching Thread Length Calculator — Work out how much waxed thread a saddle-stitched seam really needs.