Estimating Hardware: Rivets, Snaps and the Cost of Running Out
9 June 2026 · 7 min read · Stitching & Hardware
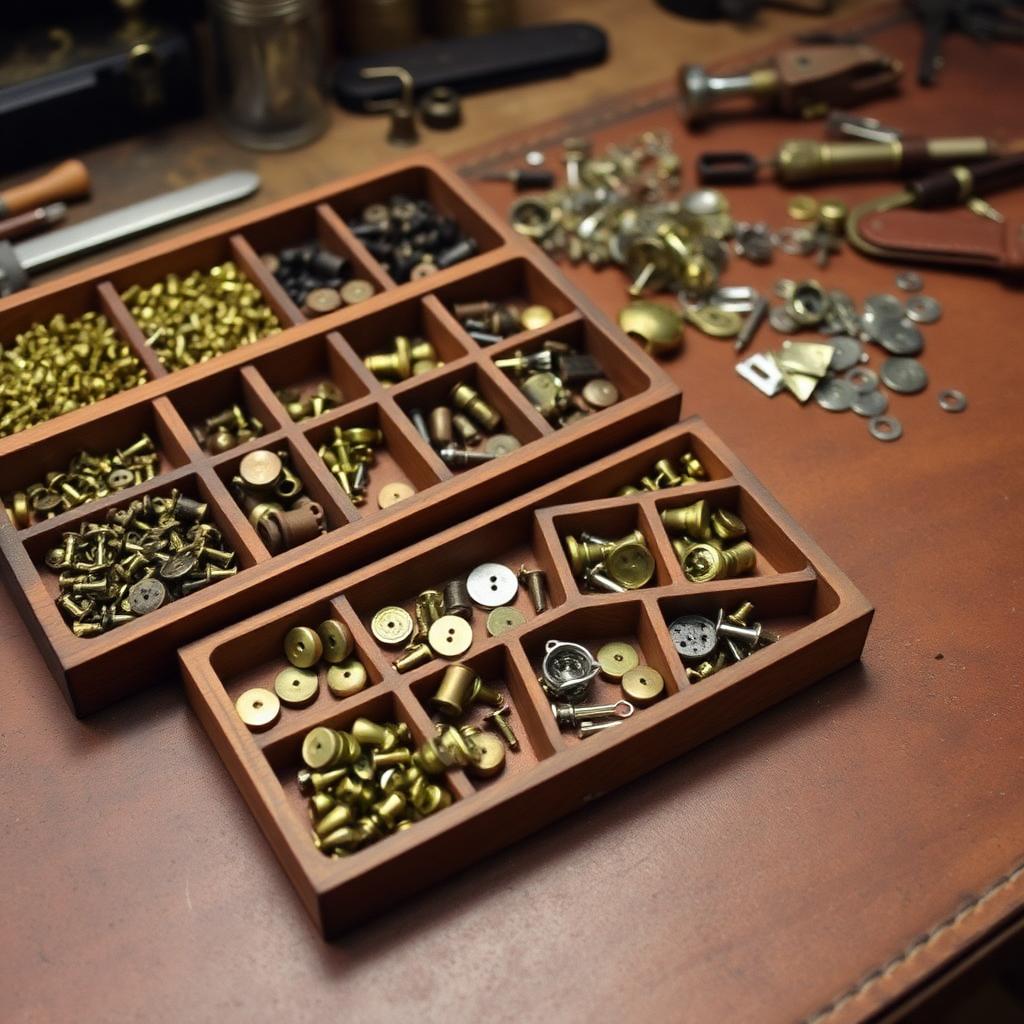
How to count fasteners properly, choose post lengths for your stack thickness, and build a buffer that survives setting failures.
Small parts, large delays
Leather can be ordered locally and cut the same day. Solid brass hardware in a specific finish often ships from another country and takes three weeks. This asymmetry is why hardware, not leather, is the usual cause of a stalled project, and why estimating it carefully is worth more attention than its low cost suggests.
The estimate has two parts: how many pieces the design needs, and how many extra you should hold. Both are routinely underestimated.
Counting what the design needs
Work systematically through the assembly rather than counting from memory. For a shoulder bag: two strap anchor points at two rivets each is four; a flap closure with a magnetic snap is one pair; two D-ring tabs at two rivets each is four more; an interior pocket tab is one snap; adjustable strap hardware is one slider and one dee.
Symmetrical pieces double silently. Makers count the hardware for one side of a bag and forget the mirrored side more often than any other estimating error. Count left and right separately, always.
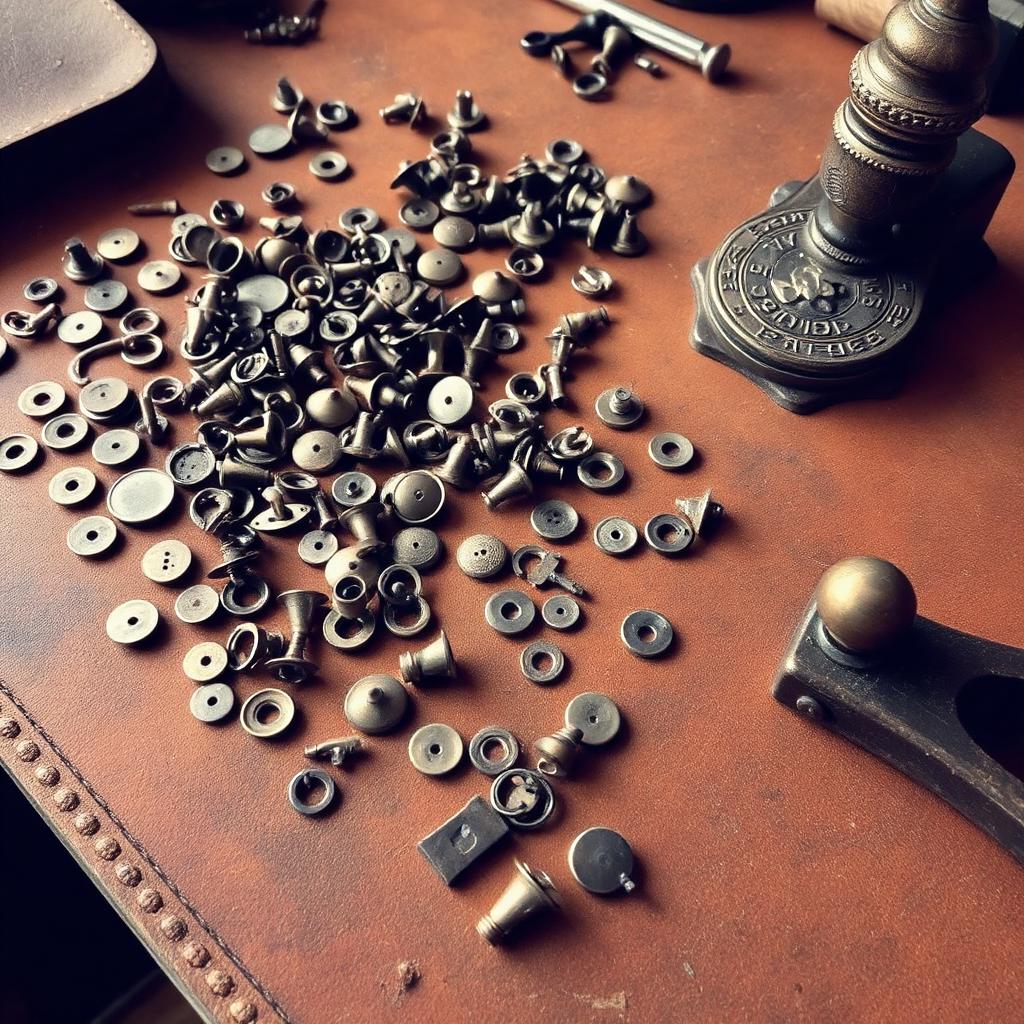
Where a fastener has multiple components, count components rather than functions. A line-24 snap is four parts: cap, socket, stud and post. Suppliers sometimes sell these as complete sets and sometimes as individual components, and the difference between ordering fifty sets and fifty caps is a discovery best made before the parcel arrives.
Post length and stack thickness
A rivet must be long enough to pass through the full stack and leave enough post to form a proper head, but not so long that it bends over. The usual guidance is a post length of the stack thickness plus 2 to 3 millimetres.
Measure the stack after compression. Two 2 mm layers glued and set under a rivet press are rarely 4 mm; they are closer to 3.6 mm. Choose the rivet for the compressed figure, and test on a scrap stack built from the same leather before committing to a batch order.
Snap posts are less forgiving than rivets. A snap post that is one millimetre too long will not set cleanly and the cap will spin; one millimetre too short and it will not grip at all. If your design falls between two available post lengths, adjust the stack — add a reinforcement layer or skive one down — rather than hoping the setting will work.
The buffer
Setting hardware is a destructive operation. A misaligned rivet cannot be removed without damaging the leather beneath it, and a snap set at a slight angle will fail in use even if it looks acceptable. Every maker ruins some percentage of the fasteners they set.
For experienced makers with a good press and correct anvils, allow ten per cent extra. For hand-setting with a hammer, allow twenty per cent. For a fastener type you have never used before, allow thirty per cent and set several practice pieces on scrap before touching the project.
Round up to the supplier's packaging increment. If hardware ships in packs of twenty-five and you need twenty-eight, order fifty. The surplus costs a few units of currency and becomes the buffer for the next project, which is exactly where you will want it.
Consistency across a product line
Standardise on as few hardware types as your designs allow. A workshop using one rivet size, one snap size and two buckle widths across every product buys in larger quantities, holds less stock value, and never stops mid-assembly because the right part is in the wrong drawer.
Finish consistency matters as much as size. Antique brass from two suppliers rarely matches, and a bag with two different brasses looks like a repair. Buy all the hardware for a product line from one source, in one order, and keep the supplier reference in your notes.
The hardware estimator on this site turns a component list into a shopping quantity including the failure buffer, which is the number you should actually put in the basket.