Building a Starter Toolkit That Actually Gets Used
1 July 2026 · 8 min read · Stitching & Hardware
What to buy first, what to buy later, and what to never buy. A practical progression from first cut to finished small goods without wasting money.
The problem with starter kits
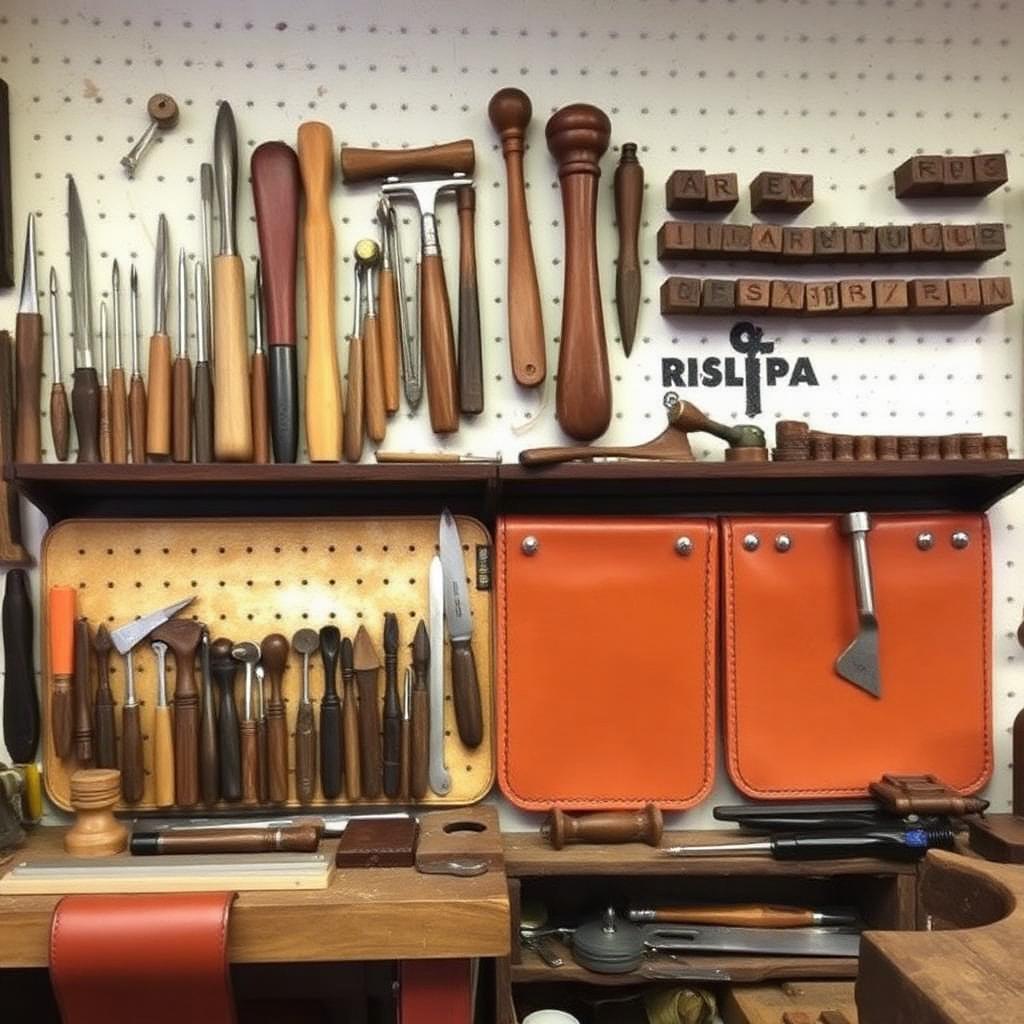
Search for a leatherworking kit and you will be offered a box containing sixty items for the price of two good ones. The box will include a mallet that splits, chisels that are not sharpened, an awl with a blunt round blade, a dozen decorative stamps you will never use, and thread that frays. It will get you through one project and then quietly discourage you, because everything in it fights you.
The better strategy is to buy few tools, buy them properly, and add only when a specific project demands it. Six good tools will take you further than sixty poor ones, and the money saved on the box buys the leather you actually learn on.
The first six purchases
A cutting mat, A2 or larger. Self-healing, thick, and big enough that a wallet panel does not overhang. This is not optional; cutting on a worktop ruins the worktop and the blade.
A heavy steel rule, at least 60 cm, ideally with a cork back so it does not skate. Buy the heaviest one you can, because mass is what keeps it in place.
A knife you will keep sharp. A utility knife with snap-off blades is the pragmatic answer; a round knife is the ambitious one. Either works, but only if you replace or hone the edge constantly.
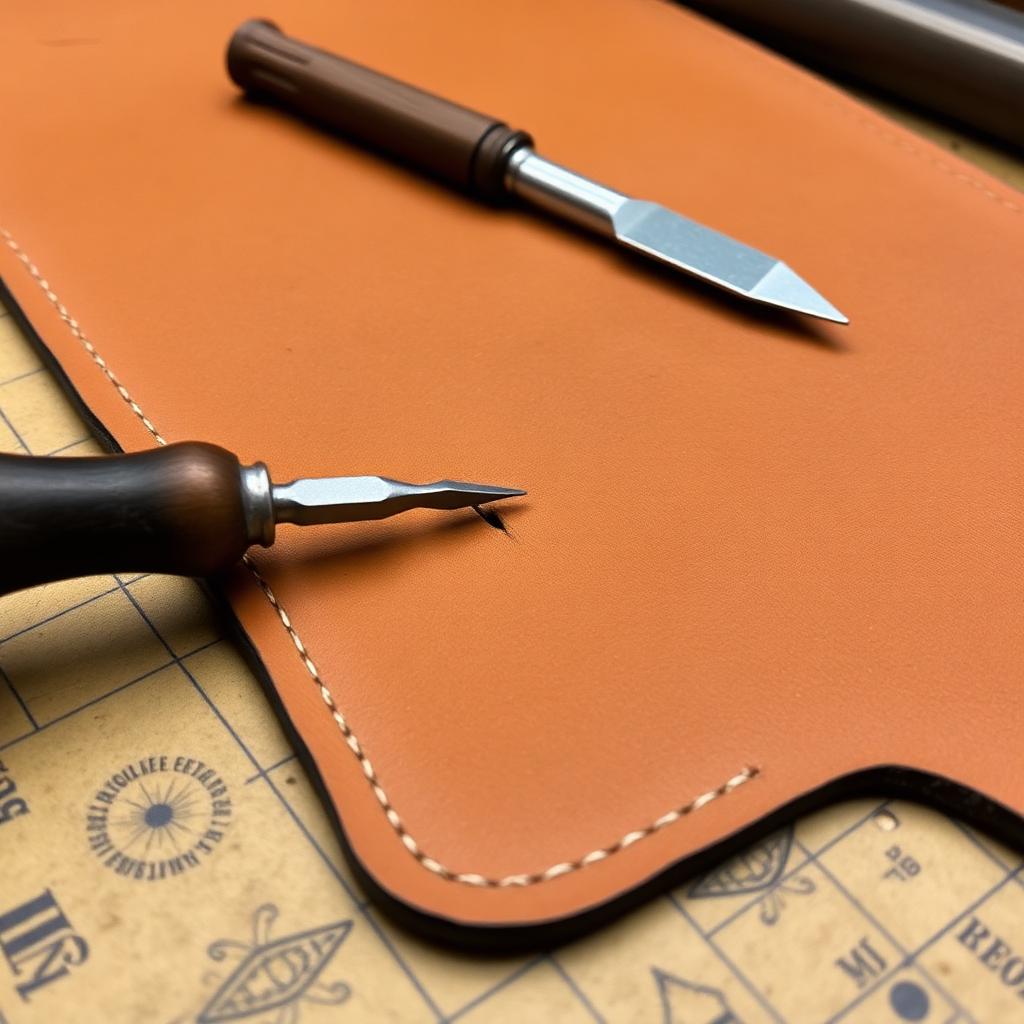
A set of diamond stitching chisels in one spacing — 3 mm is the most versatile — comprising a two-prong, a four- or six-prong, and ideally a one-prong for curves. Buy a mid-range brand; the cheapest sets have prongs that bend and spacing that drifts.
A poly or rawhide mallet, around 500 g. Never a steel hammer, which will destroy your chisels within a month.
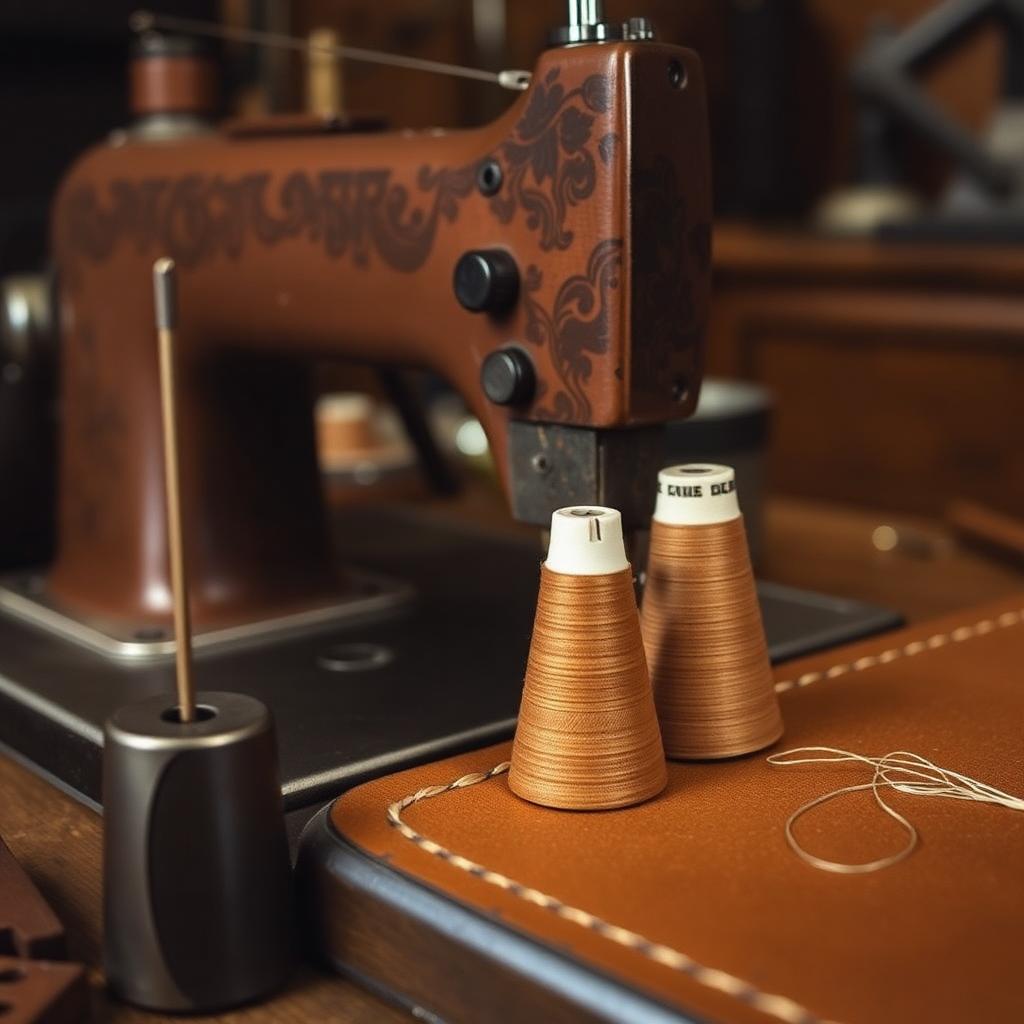
Waxed polyester thread in 0.6 mm and two blunt harness needles. Blunt matters: a sharp needle will pierce your thread on the return pass.
The second wave
A stitching pony or clamp, once you have decided you are continuing. Holding work between your knees is possible and unpleasant; a pony transforms stitching from a wrestling match into a rhythm, and a simple wooden one can be made in an afternoon.
An edge beveller in size one or two, plus a wooden slicker and a block of beeswax. This is where your work starts to look finished rather than assembled.
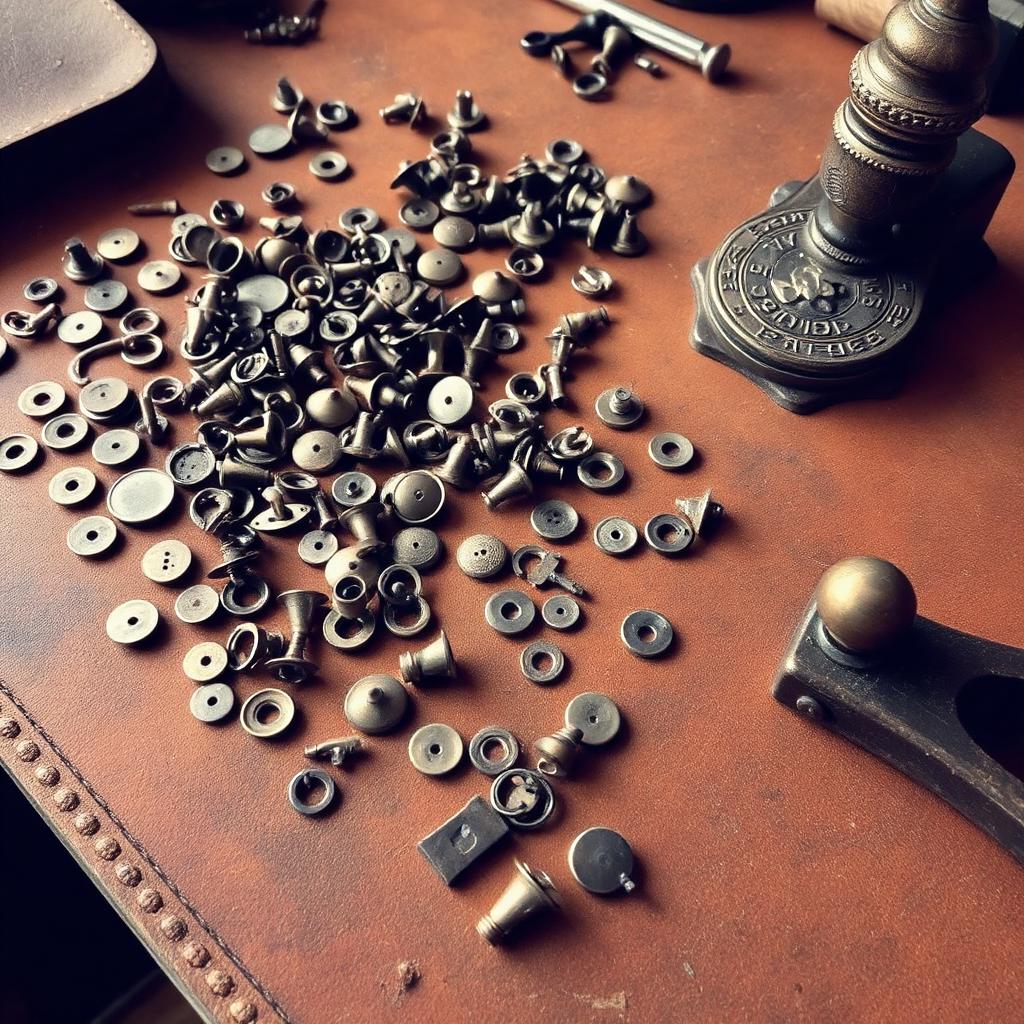
Wing dividers for marking a consistent stitch line, a hole punch or punch set for hardware, and a bone folder for creasing and forming.
Contact adhesive and a small brush. Glue before stitching is not cheating; it is how every clean seam is held in register while it is punched.
What to defer or skip
Decorative stamps, unless you specifically intend to tool. They are the bulk of cheap kits by count and the least used by any maker who is building goods rather than carving pictures.
A full set of chisel spacings. One spacing, used consistently, produces a coherent body of work; three spacings produce indecision and mismatched projects.
Expensive Japanese or French irons before you can stitch. They are wonderful and they will not make a beginner's stitch line straight. Buy them at the point where your tool is genuinely limiting you, which you will recognise clearly when it happens.
Skiving machines, clicker presses and industrial sewing machines. All are transformative in a production workshop and all are dead capital in a hobby one.
Maintenance is the hidden tool
A strop — a strip of leather glued to a board and charged with polishing compound — costs almost nothing and doubles the effective quality of every edged tool you own. Strop the awl, the knife, the beveller and the chisels regularly, not when they stop working.
Keep tools dry and lightly oiled. A film of rust on a chisel prong drags through leather and leaves a grey mark you will not notice until the piece is finished.
Store things where you can reach them from the bench. A tool that requires standing up and opening a drawer is a tool that will be skipped, and skipped steps are where quality goes.
Light and surface height matter more than any single tool. Cutting and stitching accurately requires you to see the line, which means bright, direct light close to the work rather than a ceiling fixture behind your head. A bench at standing-elbow height, or a chair that puts you above seated work, prevents the hunching that makes long stitching sessions painful.
Add tools when a project blocks on their absence, not when a video recommends them. That single rule will save you more money over your first two years than every discount code you will ever be offered, and it produces a bench where every item earns its place.
Second-hand tools are worth hunting for. Old awls, dividers, edge shaves, creasers and round knives from long-closed saddleries turn up cheaply and are frequently better steel than anything sold new at the same price. They arrive dull and often rusty, but cleaning and honing an old tool is an excellent way to learn what a properly sharp edge actually feels like.
Tools mentioned in this article
- Stitch Hole Spacing Calculator — Balance stitch holes across an edge with even end margins.
- Hardware Quantity Estimator — Count rivets, eyelets and snaps before you order hardware.